Designing Decks in SoundFlow for Stream Deck devices
In this article I'll walk through how to design decks for Stream Deck devices inside SoundFlow.
If you haven't already read our article or watched our video on how to setup SoundFlow with Stream Deck, please refer to that first. The article/video explains why we recommend that you design your decks inside SoundFlow as there are many benefits to doing so.
Installing Decks
The first thing we're going to do is to look at how to install a package made by another user and walk through how to get SoundFlow to display an installed deck on your Stream Deck device.
First let's go to the SoundFlow Store and find the popular “Dialog Editing iZotope” package that we've created.
To get the the SoundFlow Store click on the "Store" tab.

Use the Store's search field to find the “Dialog Editing iZotope” package.
Once the package appears click the ”INSTALL” button.

To navigate to the newly installed package just click the “GO TO PACKAGE” button.
Note: You can also find the package by looking inside the “Installed Packages” folder in the “Package” list in the SoundFlow Editor.
If we look through the contents of this package we can see there's a Deck named “iZotope RX Deck”. Note: You can identify a deck by the icon with the nine small dots.

Clicking on the Deck will open the Deck Designer showing the Deck with all the colorful icons that we've designed.
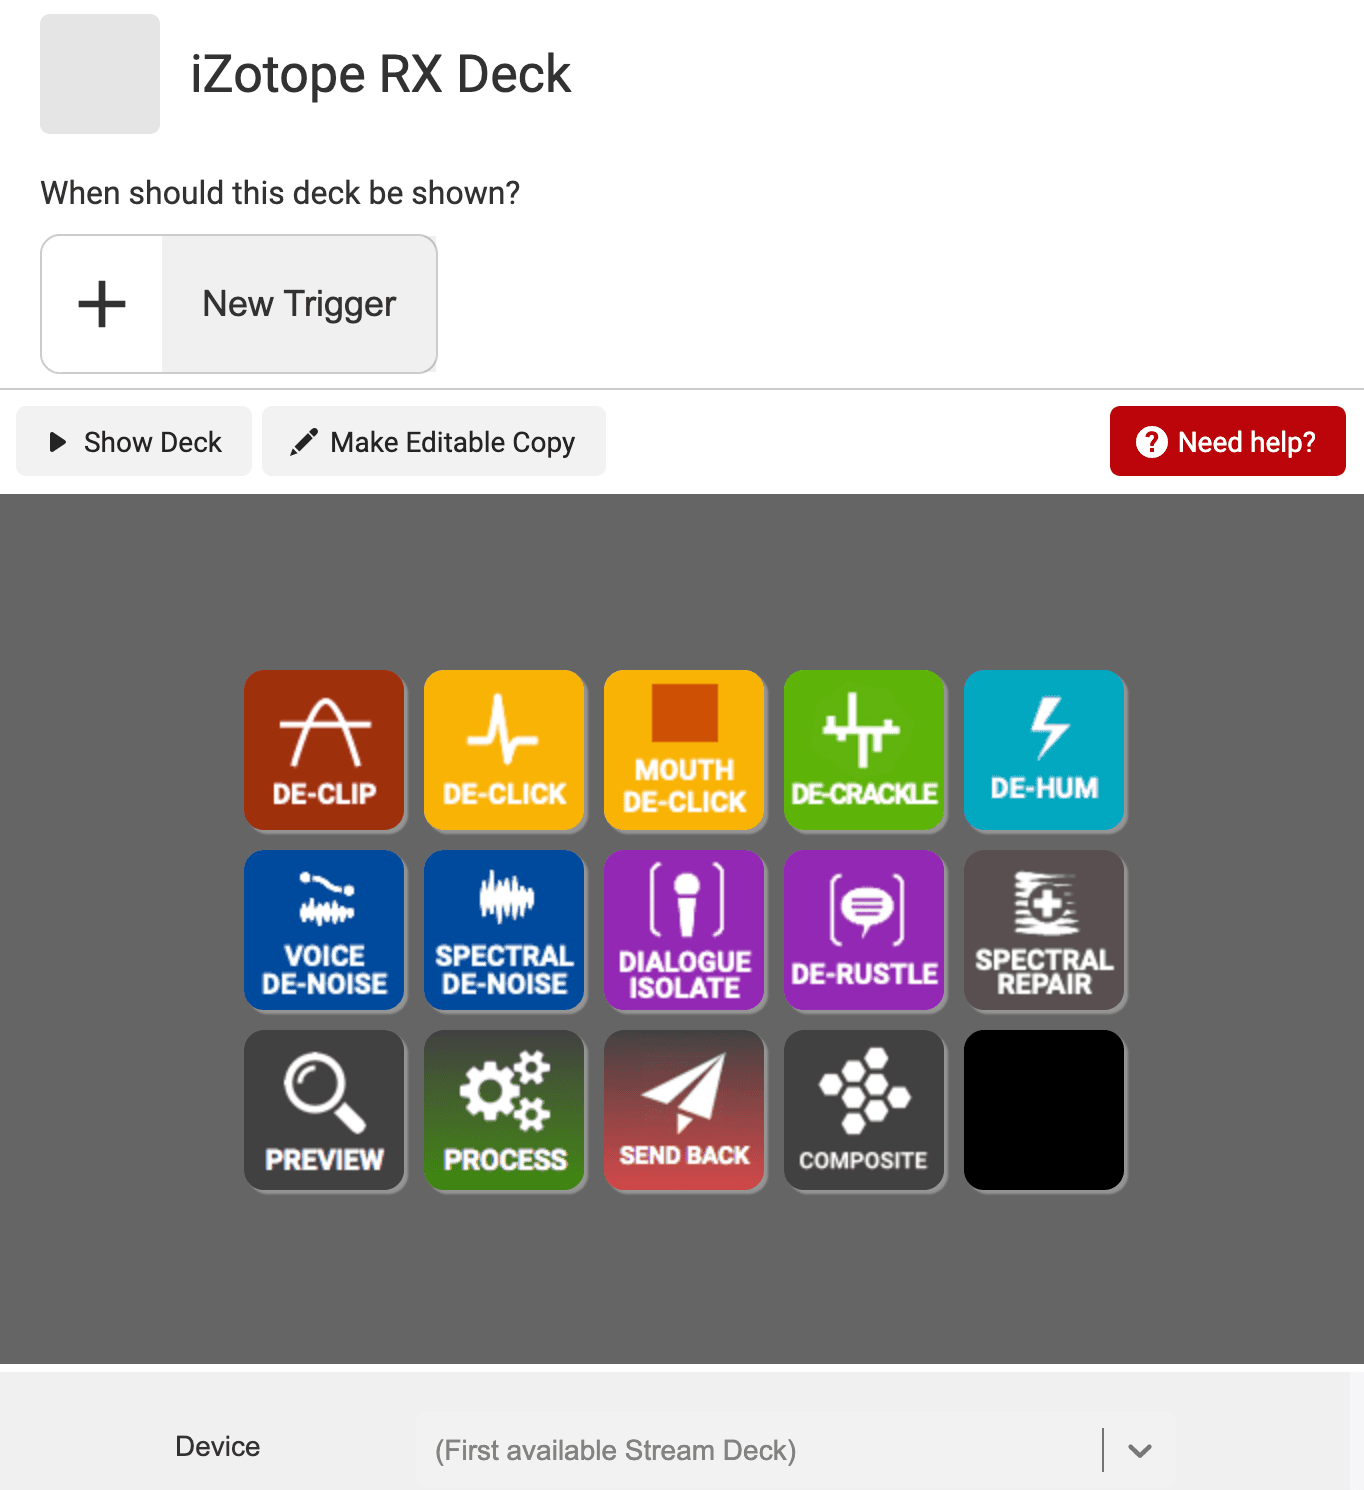
By clicking the “Show deck” button, the deck should now show up on one of your connected Stream Deck devices, and if you have iZotope RX open you can now use the buttons to control the iZotope RX modules.
Add an Application Trigger
If you want the deck to be shown automatically every time iZotope RX becomes the focused app we'll need to add an “Application Trigger" to the deck.
Note: A "Trigger" in SoundFlow is what defines when a command should be run, for example when to run a script, or in this case when to show a deck.
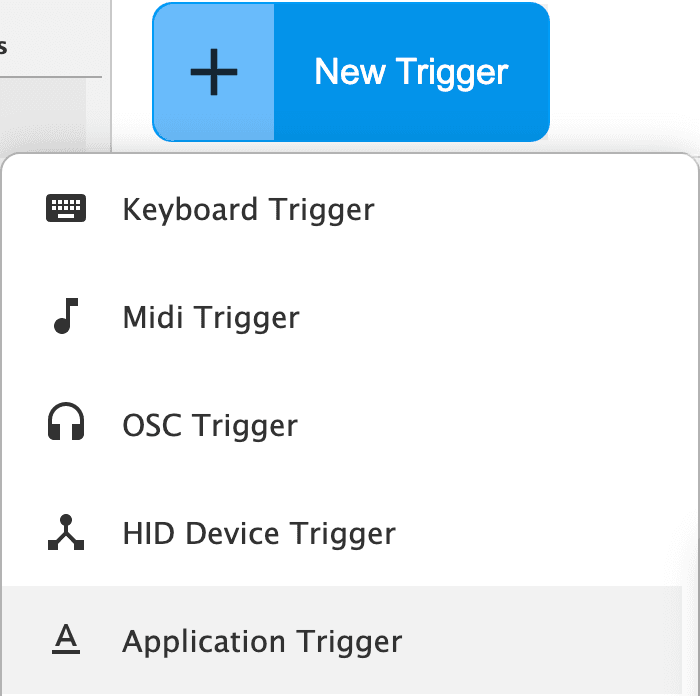
To add an Application Trigger, click the “New Trigger” button and select "Application Trigger".
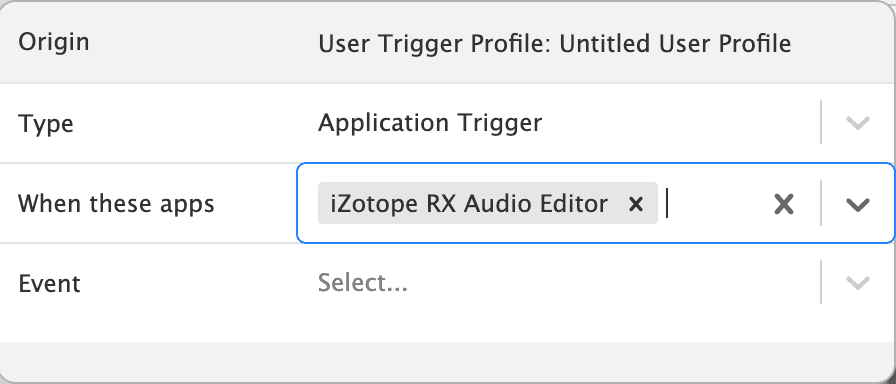
In order to show the deck each time an application gets activated we need to set the Trigger's properties as follows.
Set the “When these apps” property to “iZotope RX Audio Editor”.
...and the “Event” property to “Activate”.
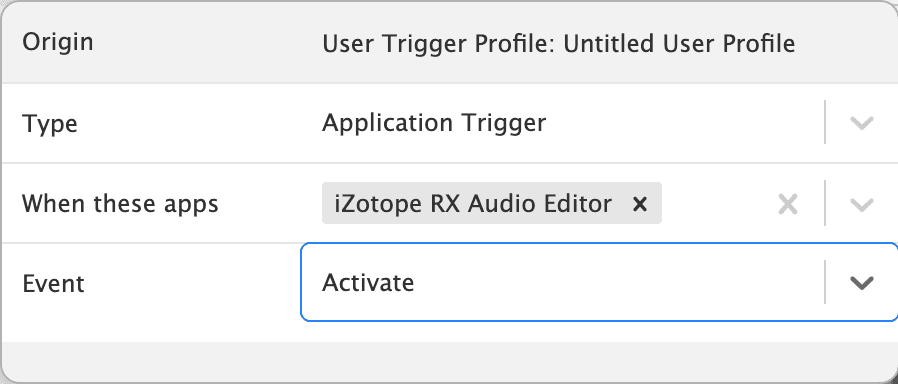
Note: The triggers is automatically stored, so we can now click anywhere to close the trigger editor.
Now that the Application Trigger has been added, the Deck will be shown every-time iZotope RX becomes the focused app.
Make an Editable Copy of a Deck
If you like the deck but you want to make a few changes to it, maybe you want it to be shown on a different Stream Deck device, or you want to edit or swap some buttons. If you try to make changes to the deck now you'll see that it's not possible, that's because when you install a deck or macro from the store, it's read-only. In fact all decks macros and scripts that you install from other users are read-only. We do this so that when you want to update to a newer version of a package later it won't create a conflict with any changes you would have made in your own version.
In order to edit a deck that was made by somebody else, we first need to make an editable copy of that deck.
To do this, start by selecting the deck in the "Command Name" list and click the “Make Editable Copy” button.

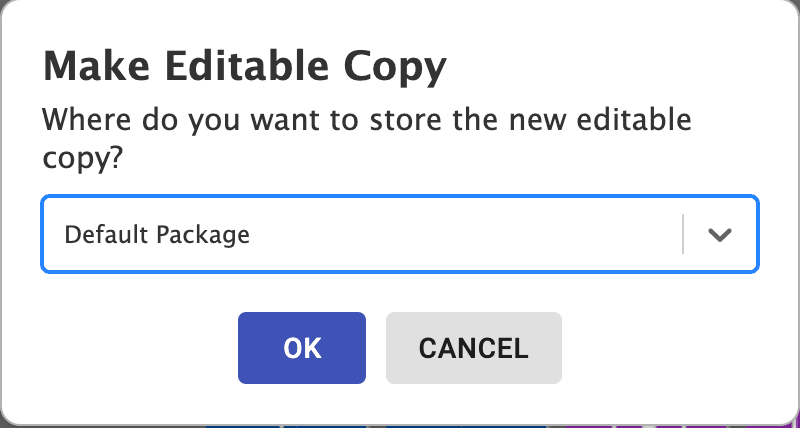
Choose the package where you want to place the editable copy.
Note: Packages are the folder like structures that you select in the left-side column of SoundFlow. You can create your own packages as a way to organize your scripts and decks by first clicking the “New” button and selecting “Package”
For now let's select “My Default Package” to store the Deck and press "OK".
Now that we have an editable copy of the deck we can go ahead and for example move two buttons around, or change the assigned Stream Deck you want it to be shown on by editing the Decks “Device” property.

Note: Once your done making changes to the copy of the deck, be sure to create a new trigger for this new deck, and remove the old trigger on the original deck so that SoundFlow knows that it's my new version of the deck it needs to show when iZotope RX gets focused.
Creating your own Decks
Until now we've looked at how to use decks designed by other users. So let's take a look at how you can create your own deck from scratch.
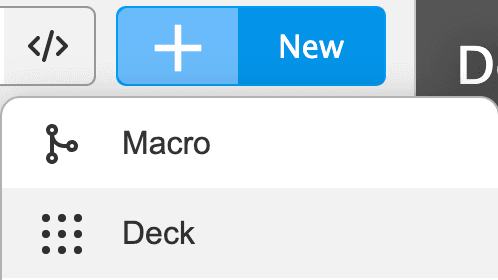
To create a new Deck, first select the package that you want to create your deck in then click the "New" button and choose "Deck".
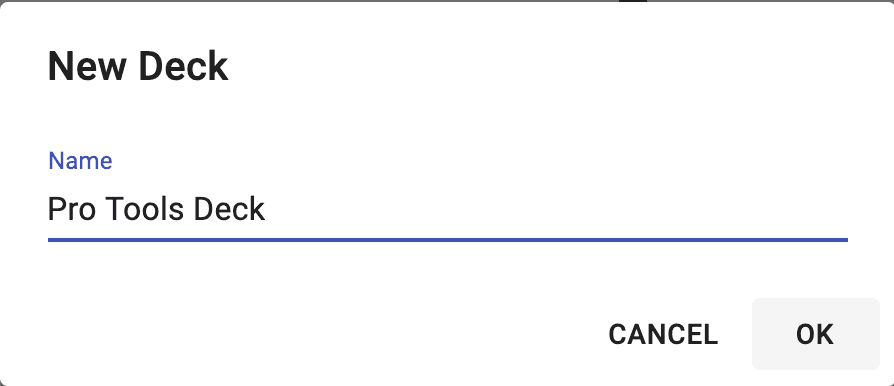
let's give the deck a name for example “Pro Tools Deck” and press "OK".
Now you can see the deck details and the bottom right quadrant of the screen.
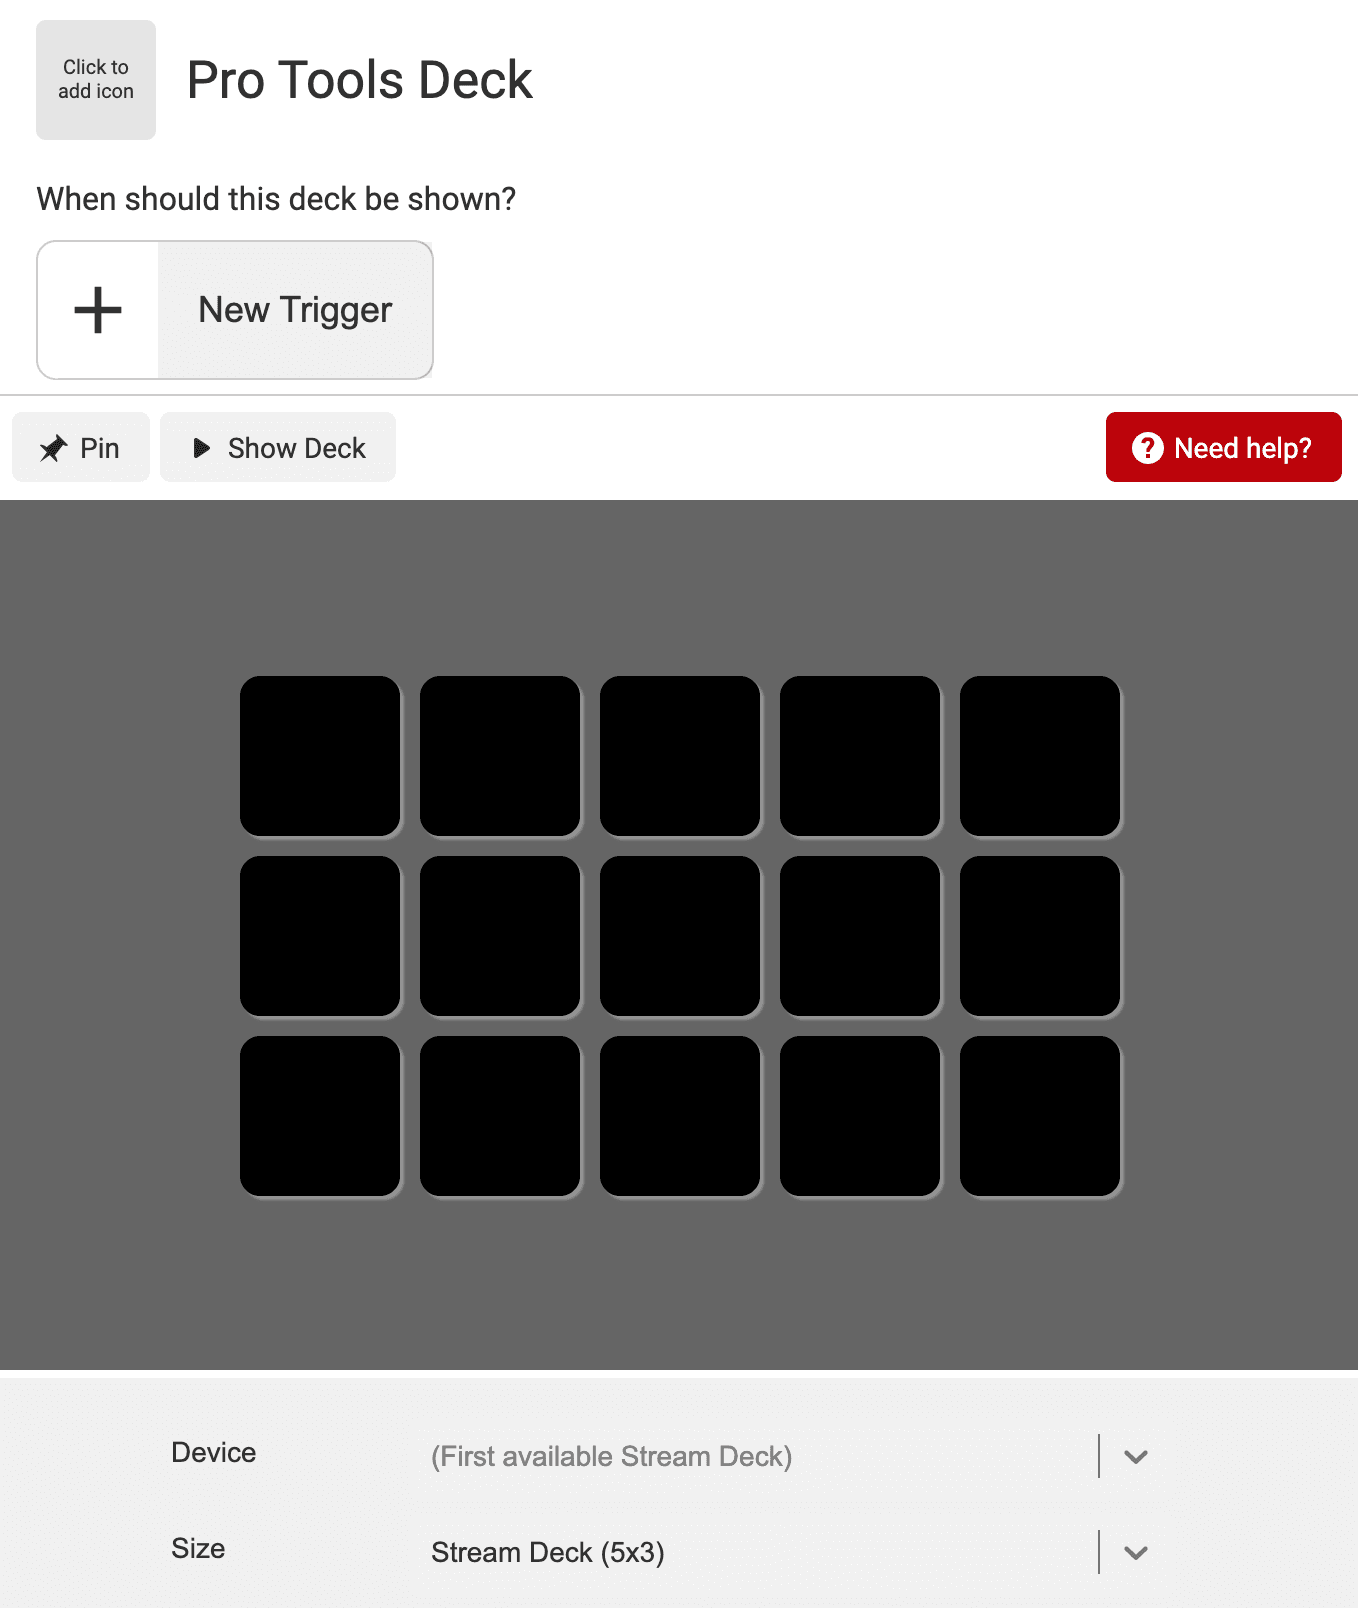
In the “Device” drop down you can choose which device the deck should be shown on by default.

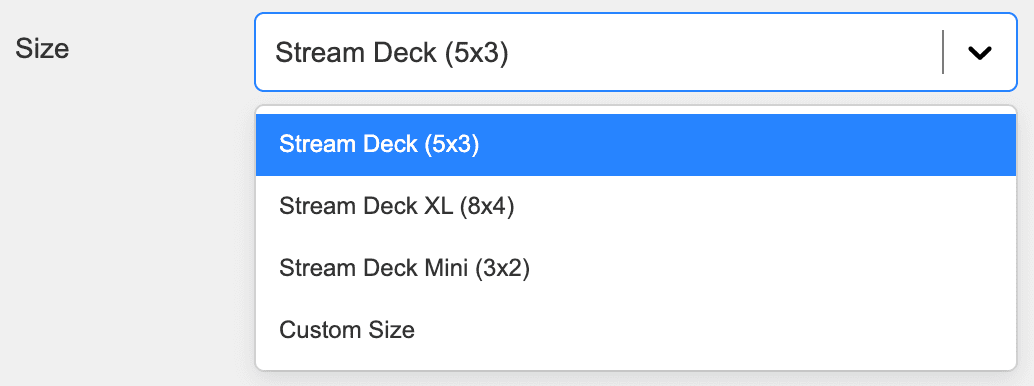
And in the “Size” drop-down you can choose if you want the deck to fit with a mini Stream Deck with 6 buttons, a regular Stream Deck with 15 buttons or a Stream Deck XL with 32 buttons (let's design a 5x3 deck for now).
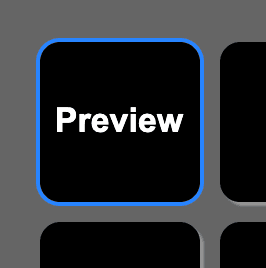
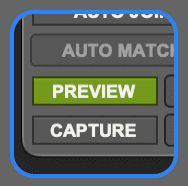
Now let's add a button to our Stream Deck. To do this, first click the button to activate it. You can tell the button is selected when it has a blue border.

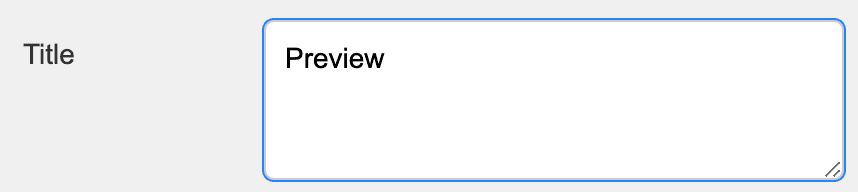
In this first example let's give it a title of “Preview”. To do this type "Preview" into the Title text field.
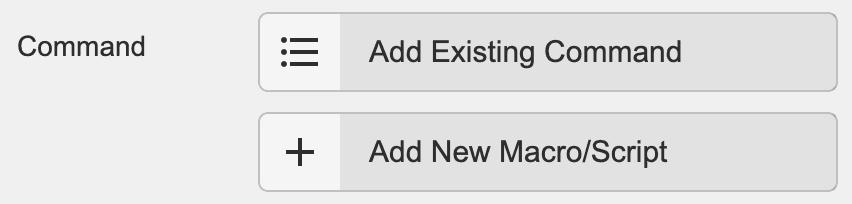
Next we need to choose which SoundFlow Command to run when the Stream Deck button is presses. To do this click on the “Add Existing Command” button.
In this pop-up menu, you'll see a searchable list of all SoundFlow commands in your account both the built-in commands, the install scripts of macros, and all of your own scripts and macros.
Let's search for "Toggle Preview" and select the built-in “Toggle Preview” command then press return.

Note: IF the Command already has an icon associated with it you can just remove the text from the title property.
To check that this works, click “Show Deck” which will show the Deck on the default device we selected earlier. You can now click the “Preview” button on the device to toggle the preview state in Pro Tools.
Add an Icon
Now let's see how we can add an icon to the button instead of just having the black and white title.
For the icon, I want to use a screenshot of the preview button in Pro Tools "Automation" window.
The Mac OS has a pre-assigned shortcut for copying screenshots to the clipboard. So on your keyboard press the keyboard shortcut “Control Shift Command + 4” and drag a boxaround the preview button.
Switch back to SouthFlow and click on the icon box and choose "Paste from Clipboard".
Finally remove the title we added earlier so the icon stands alone.
Create your own Macro
So what if we want to do something that isn't a built-in SoundFlow Action but instead our own Macro?
The important thing to remember here is that this involves two steps in SoundFlow. First we need to create the Macro and then we can assign that macro to a button on our Deck.
A common task people want to achieve with a Stream Deck button is to open an application, so let's use that as an example.
The first step is to select the package where you want the Macro to be stored.
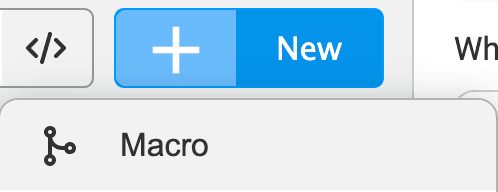
Then create the macro by clicking the "New" button and selecting "Macro".
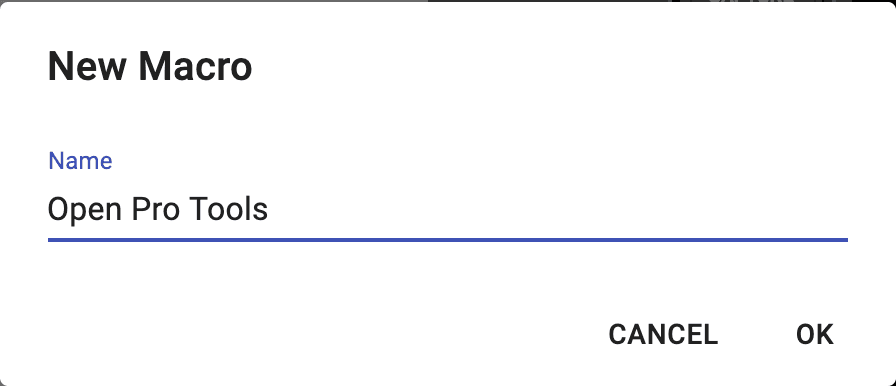
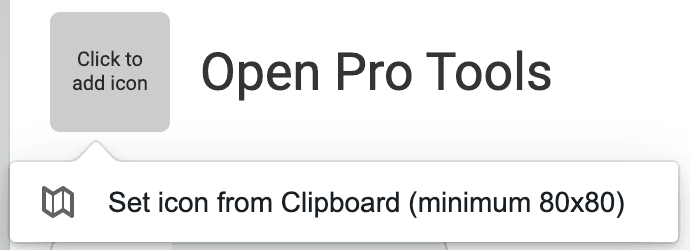
Name the macro “Open Pro Tools” and press “OK”.
Now we can add the actions that this macro should take in the Macro Editor in the bottom right quadrant.
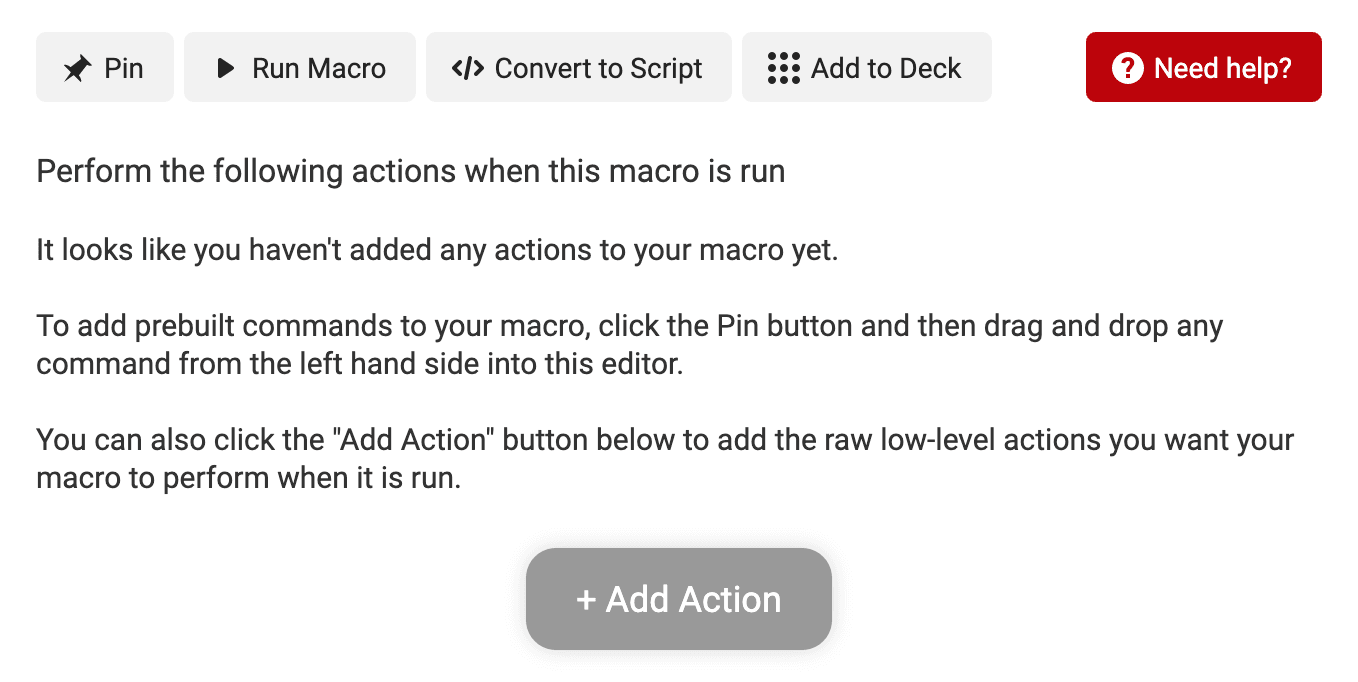
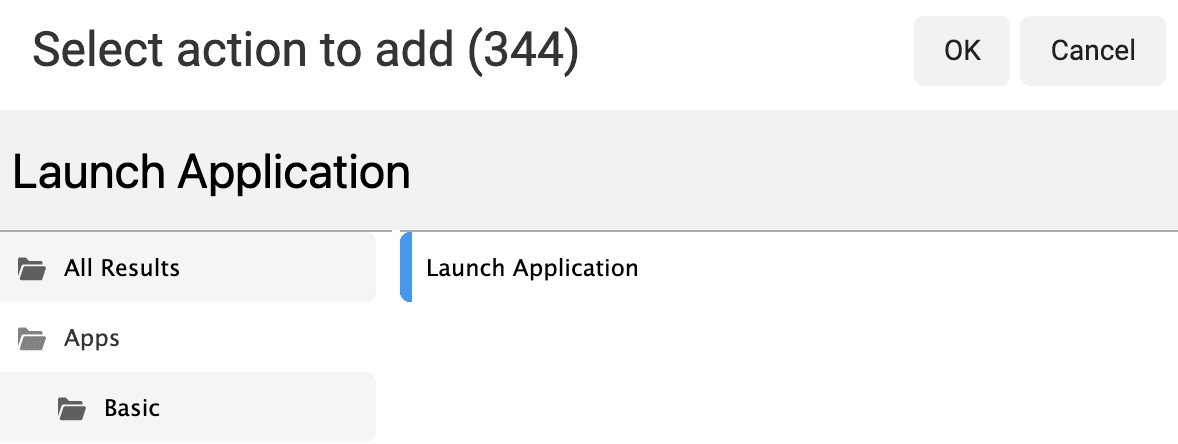
Click "Add action" to bring up a list of all the possible actions we can add.

Note: We can now either navigate through the action folders in the left side or just start typing to search.
Let's choose the "Launch Application" action and press return.
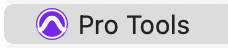
Next we have to tell the action which application we wanted to launch. To do that click on the path field and type "Pro Tools" and once it's selected press return.

Now we can test the macro by clicking the "Run Macro" button, and the macro launches and activates Pro Tools.
Since this is a regular macro we could add a keyboard trigger, but since we want to add this to our deck we don't need to add any triggers. Instead we'll connect our new macro to a deck button inside the deck.
But before we do that let's make sure to give our macro a proper icon.
Add an Application Icon
To capture the Pro Tools icon, go to your Applications folder and select the "Pro Tools" Application.
Then use the keyboard shortcut “Command + I” to bring up the Info window and click the application icon in the top left corner.

Press “Command + C” to copy the icon to your clipboard.
Navigate back to SoundFlow and in the empty square next to the Macro's title click and choose “Set icon from Clipboard”.

Now the Macro has been created, let's go back to our Deck and add the macro to a button.
Select a button you want to use to trigger the macro and then click on the "Add Existing Command" button to open the command popup.

Use the search to find the macro named "Open Pro Tools" and select it.

Since we added the icon to the macro itself instead of just to the button, the macro's icon will automatically be shown.

Summing up
In this article we've walked through how to:
- Install packages created by other users.
- Add application triggers to your Decks.
- Make an editable copies of installed Decks.
- Design your own Decks.
- Create Macros that launch applications.
- Reuse icons across Decks.
I hope this gives you a good start on how to design Decks in SoundFlow and always remember if you have a question or get stuck, be sure ask a question in the SoundFlow User Forum so we can help you get it working.