Getting Started with Ableton Live
This guide will help you sign up for a new SoundFlow account, redeem your free 30-day trial, install the SoundFlow application, and set up SoundFlow to control Ableton Live with a mobile device.
Note: If you already have a SoundFlow account, skip ahead to the section on Installing the Ableton Live Integration (Public Beta).
What Do I Need to Get Started?
The SoundFlow Ableton Live integration requires...
- SoundFlow 5.10.5+ and an active SoundFlow Pro trial or subscription
- Ableton Live 12.1+ (Standard or Suite recommended)
- MacOS 10.15+
- System language set to English (Go to System Settings → General → Language & Region to update language preferences)
Create a SoundFlow Account
SoundFlow stores your content in the cloud, so your workflows travel with you. You can log in to your SoundFlow account from any computer, and all your key commands, decks, macros, and scripts will be ready to use.
To set up a SoundFlow Account, go to soundflow.org/signup.
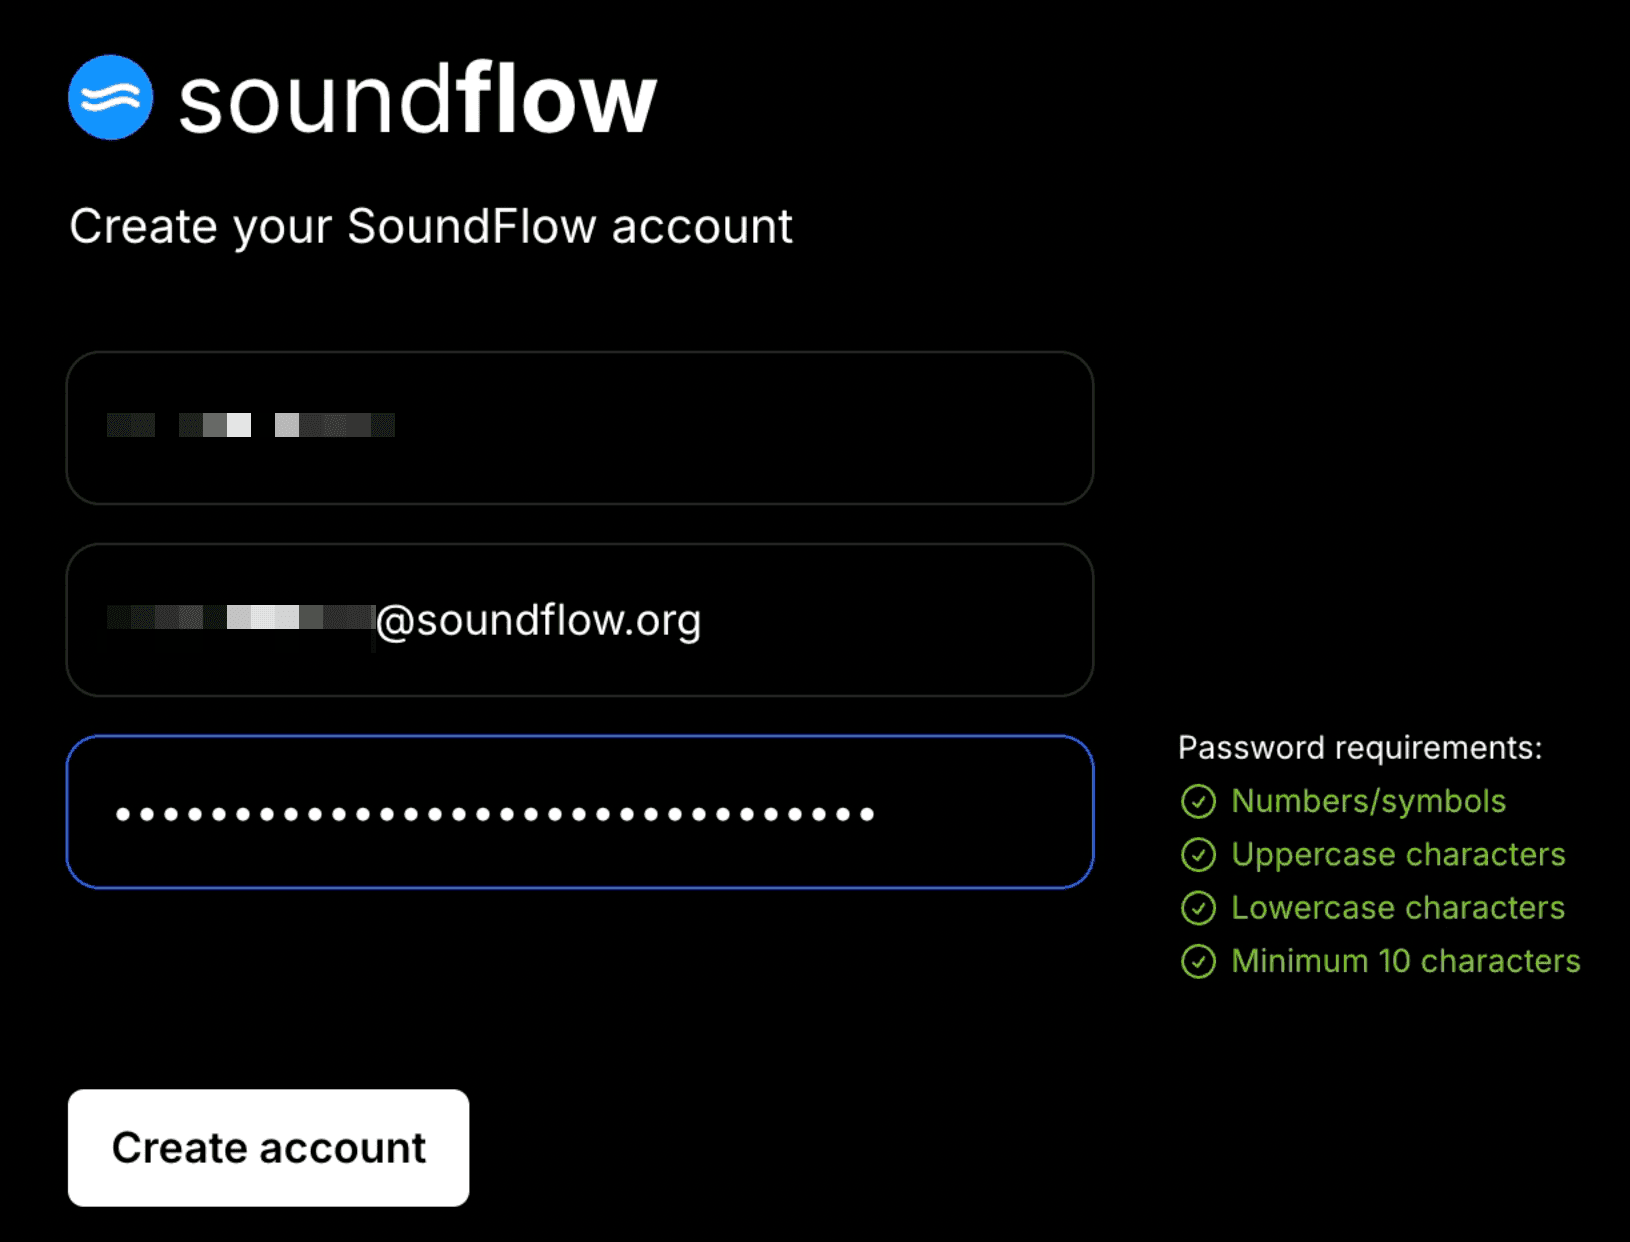
On this Sign-Up page:
- Enter your name
- Enter the email address you want to use with your SoundFlow account
- Choose a strong password for your account, and then click "Create Account"
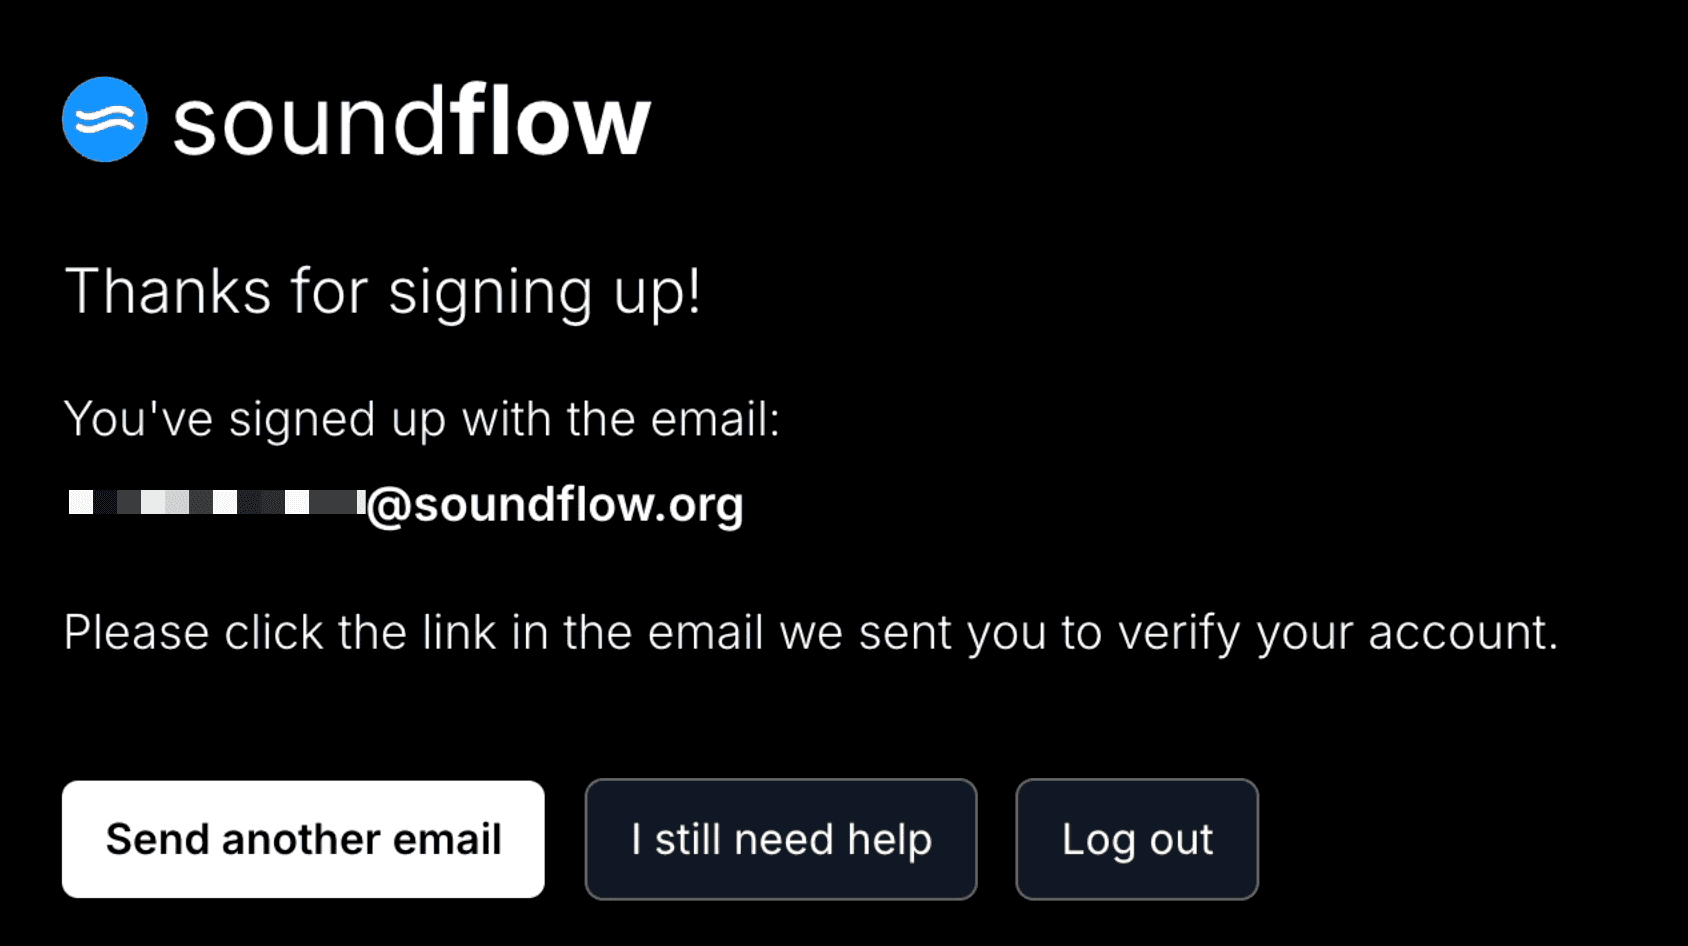
Next, go to your email and click the verification link.
After verifying your email, you will be presented with our onboarding wizard. On the first screen, click the blue "Let's Get Started" button. Please answer the questions that follow.
Once you submit the questionnaire, you will be taken to your SoundFlow account page.
To start your free 30-day trial of SoundFlow Pro and start using SoundFlow, please click the white "Start Free 30-day Trial Now" button.

Your SoundFlow account and SoundFlow Pro trial are now active.
Install SoundFlow
Next, we will install the SoundFlow application and set it up to automate actions on your computer.
From your SoundFlow Account page in your browser, click the white "Download" button near the bottom to download the newest stable version of SoundFlow.
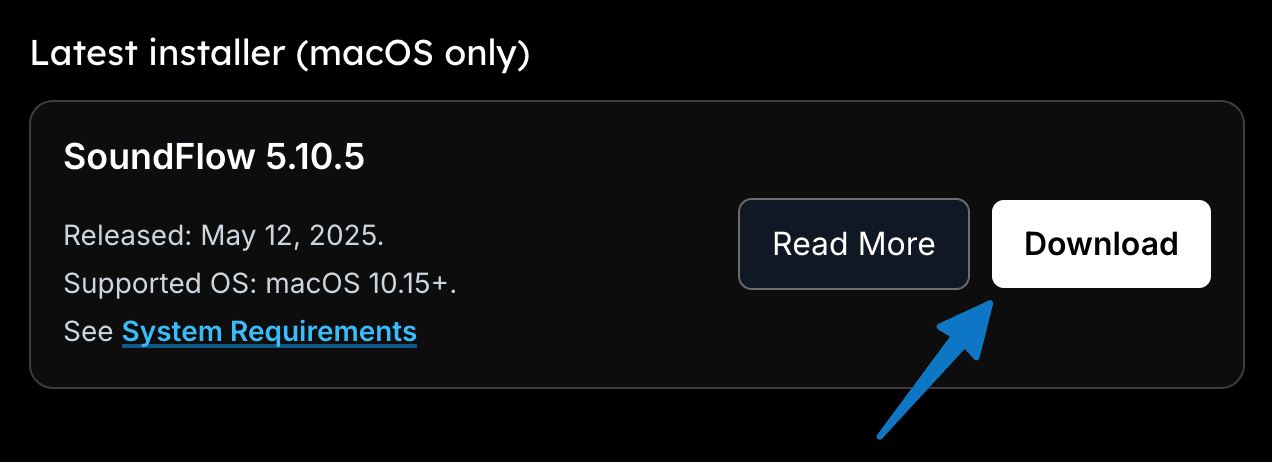
Note: SoundFlow 5.10.5 or higher is required for using SoundFlow with Ableton Live.
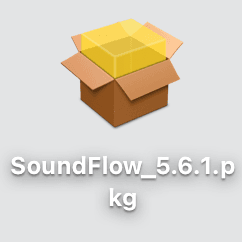
To begin the installation, navigate to the downloaded installer file, double-click it, and follow the instructions on the screen.
If you are asked for your macOS password, please fill it in so the installer can continue.

When the installer is complete, you will see a green check mark – and the SoundFlow app will pop up in the top right corner of your screen. You can now click the "Close" button on the installer window.

We now need to set up SoundFlow's access to your computer to automate actions for you.
- First, click the button "Step #1".
- In the pop-up window, click the "Open System Settings" button.

We now have the "Accessibility" section of the "Privacy & Security Settings" window open.
You may need to click the lock icon to make changes on older macOS versions. This will also prompt you for your macOS computer password.
Then, scroll down to find SoundFlow in the list of applications, and make sure the toggle switch is toggled to on.

You can now close the "System Settings" window.
Finally, click the "Step #3" button to complete the installation process.

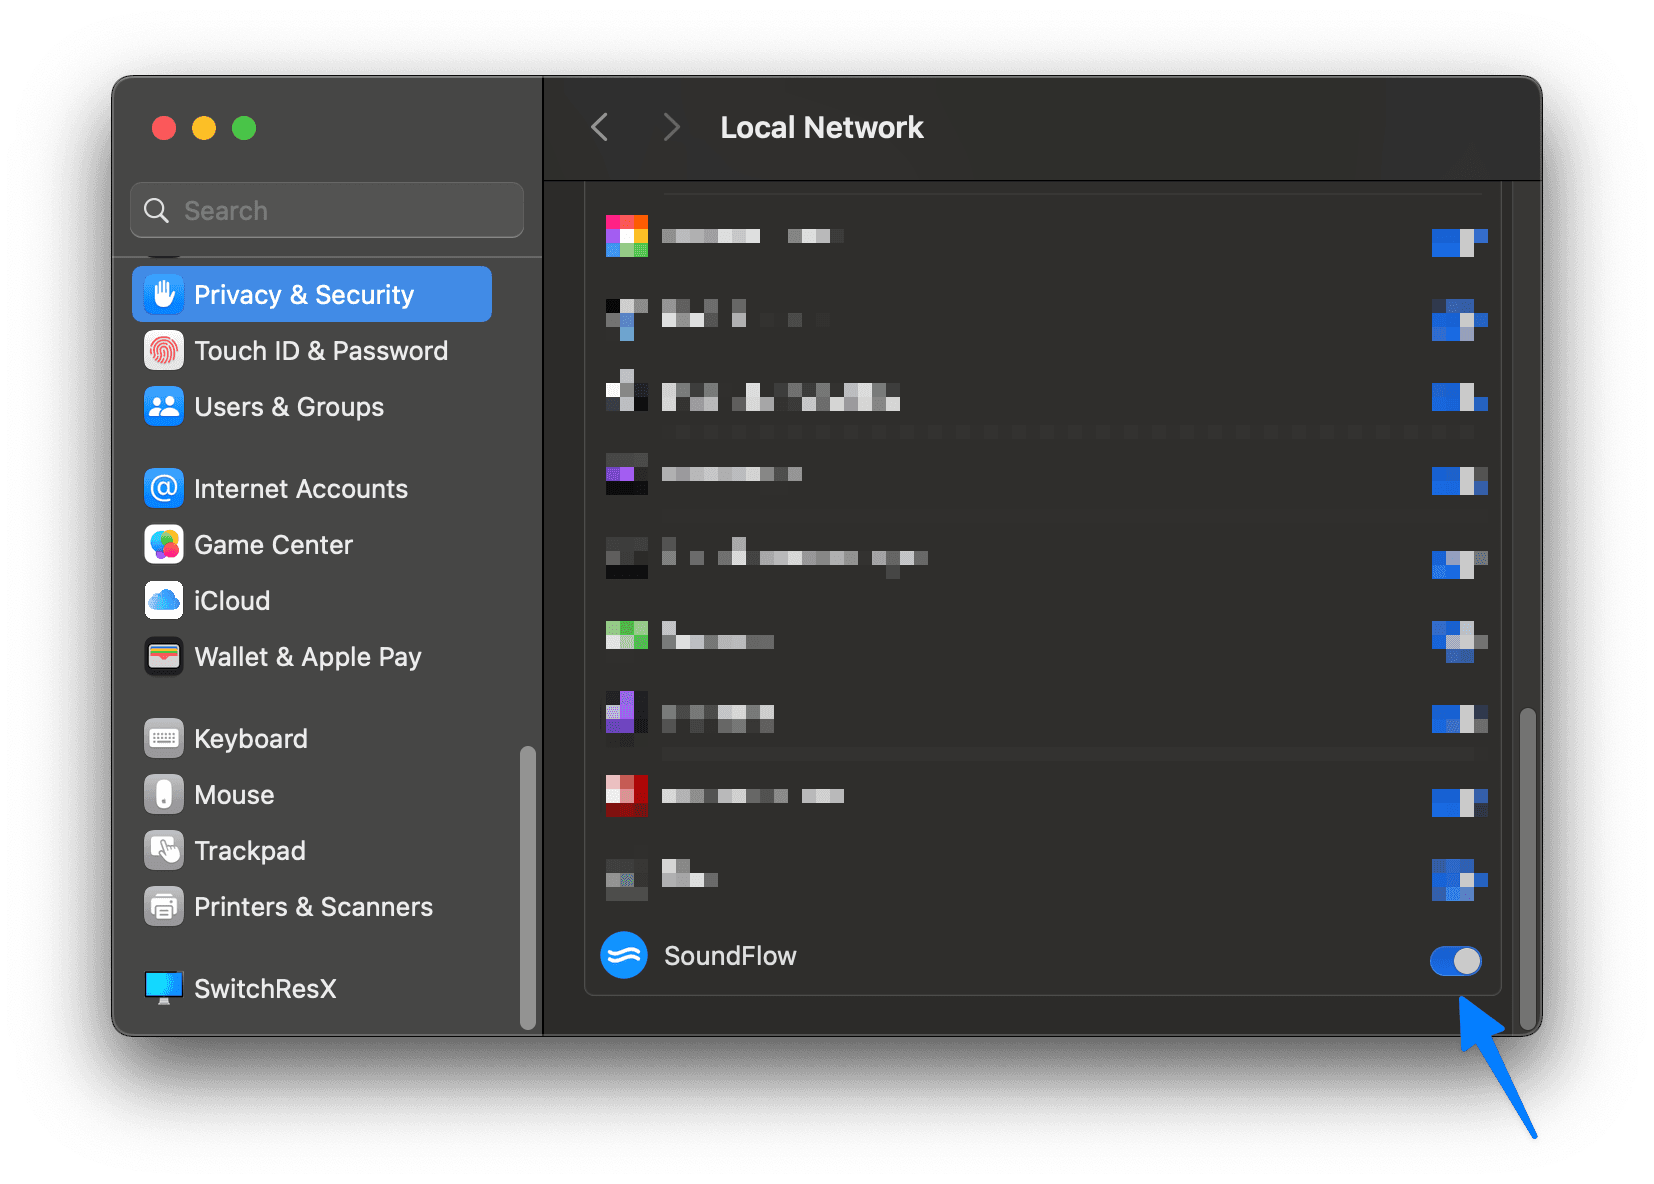
On macOS 15 Sequoia and higher, SoundFlow will also need to be granted Local Network permissions. If you are having trouble opening the SoundFlow Editor or it is blank when opened, check System Settings > Privacy & Security > Local Network and ensure SoundFlow is enabled in this list.

Sign In To SoundFlow
Next, we need to sign into our SoundFlow account.
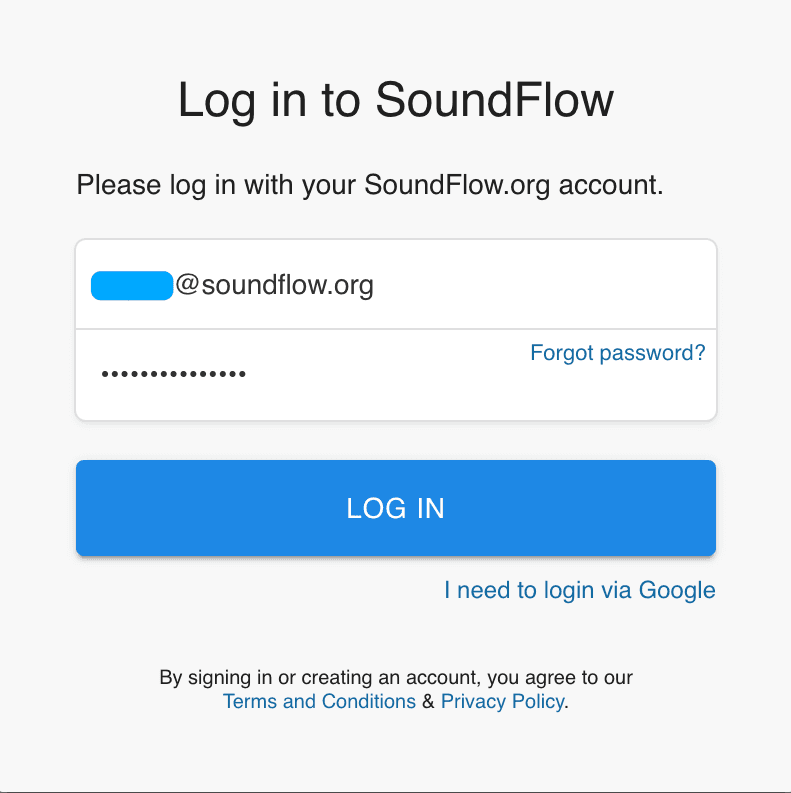
Click the " Sign In " button from the SoundFlow menubar app in the top right of your computer screen.

Enter the email and password that you used to set up your SoundFlow account.
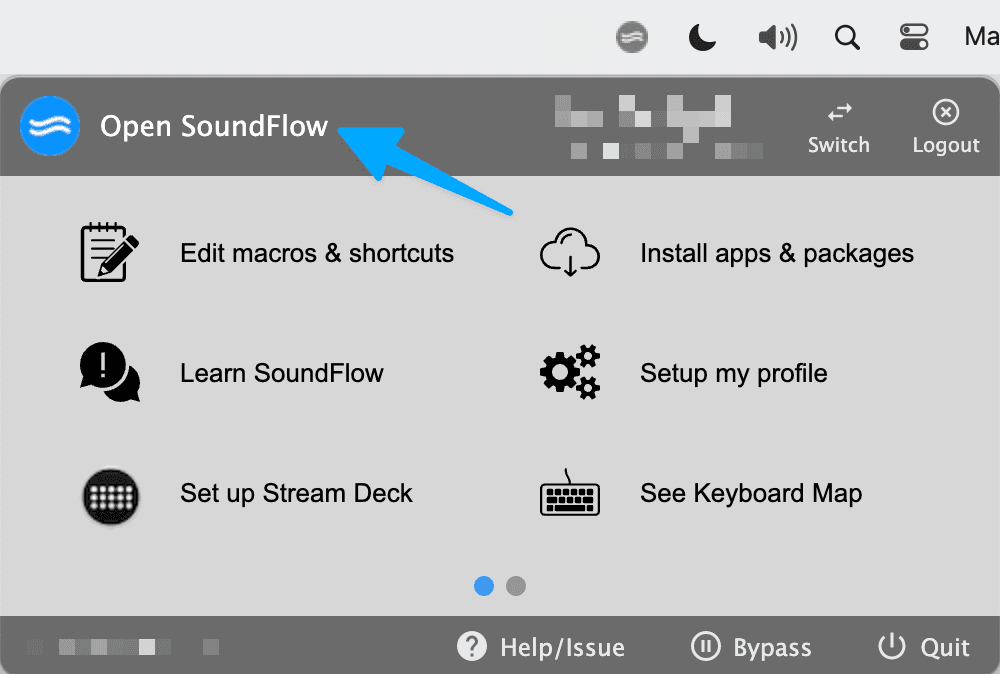
If the SoundFlow Editor doesn't open automatically, click the "Open SoundFlow" button from the SoundFlow menubar app.
The SoundFlow Quick Start Guide
When the SoundFlow Editor opens for the first time, you will be presented with the Welcome screen. This first screen displays some global shortcuts SoundFlow has set up for you. For example, you can always use Control + F1 to open the SoundFlow Editor.
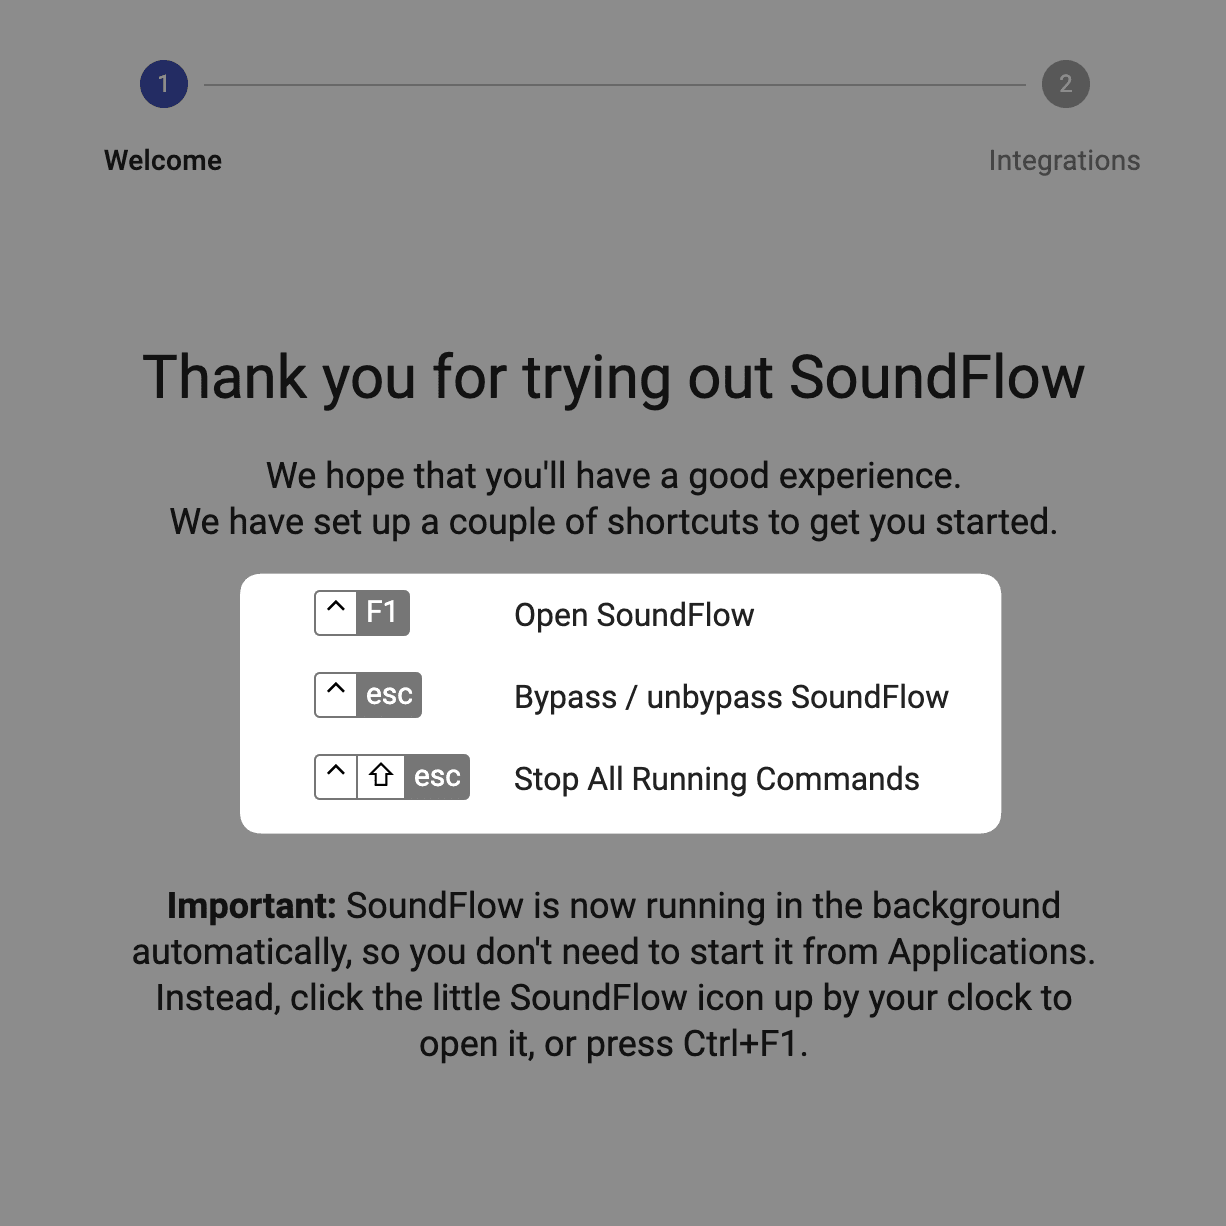
Click the blue "Next" button to continue the setup.

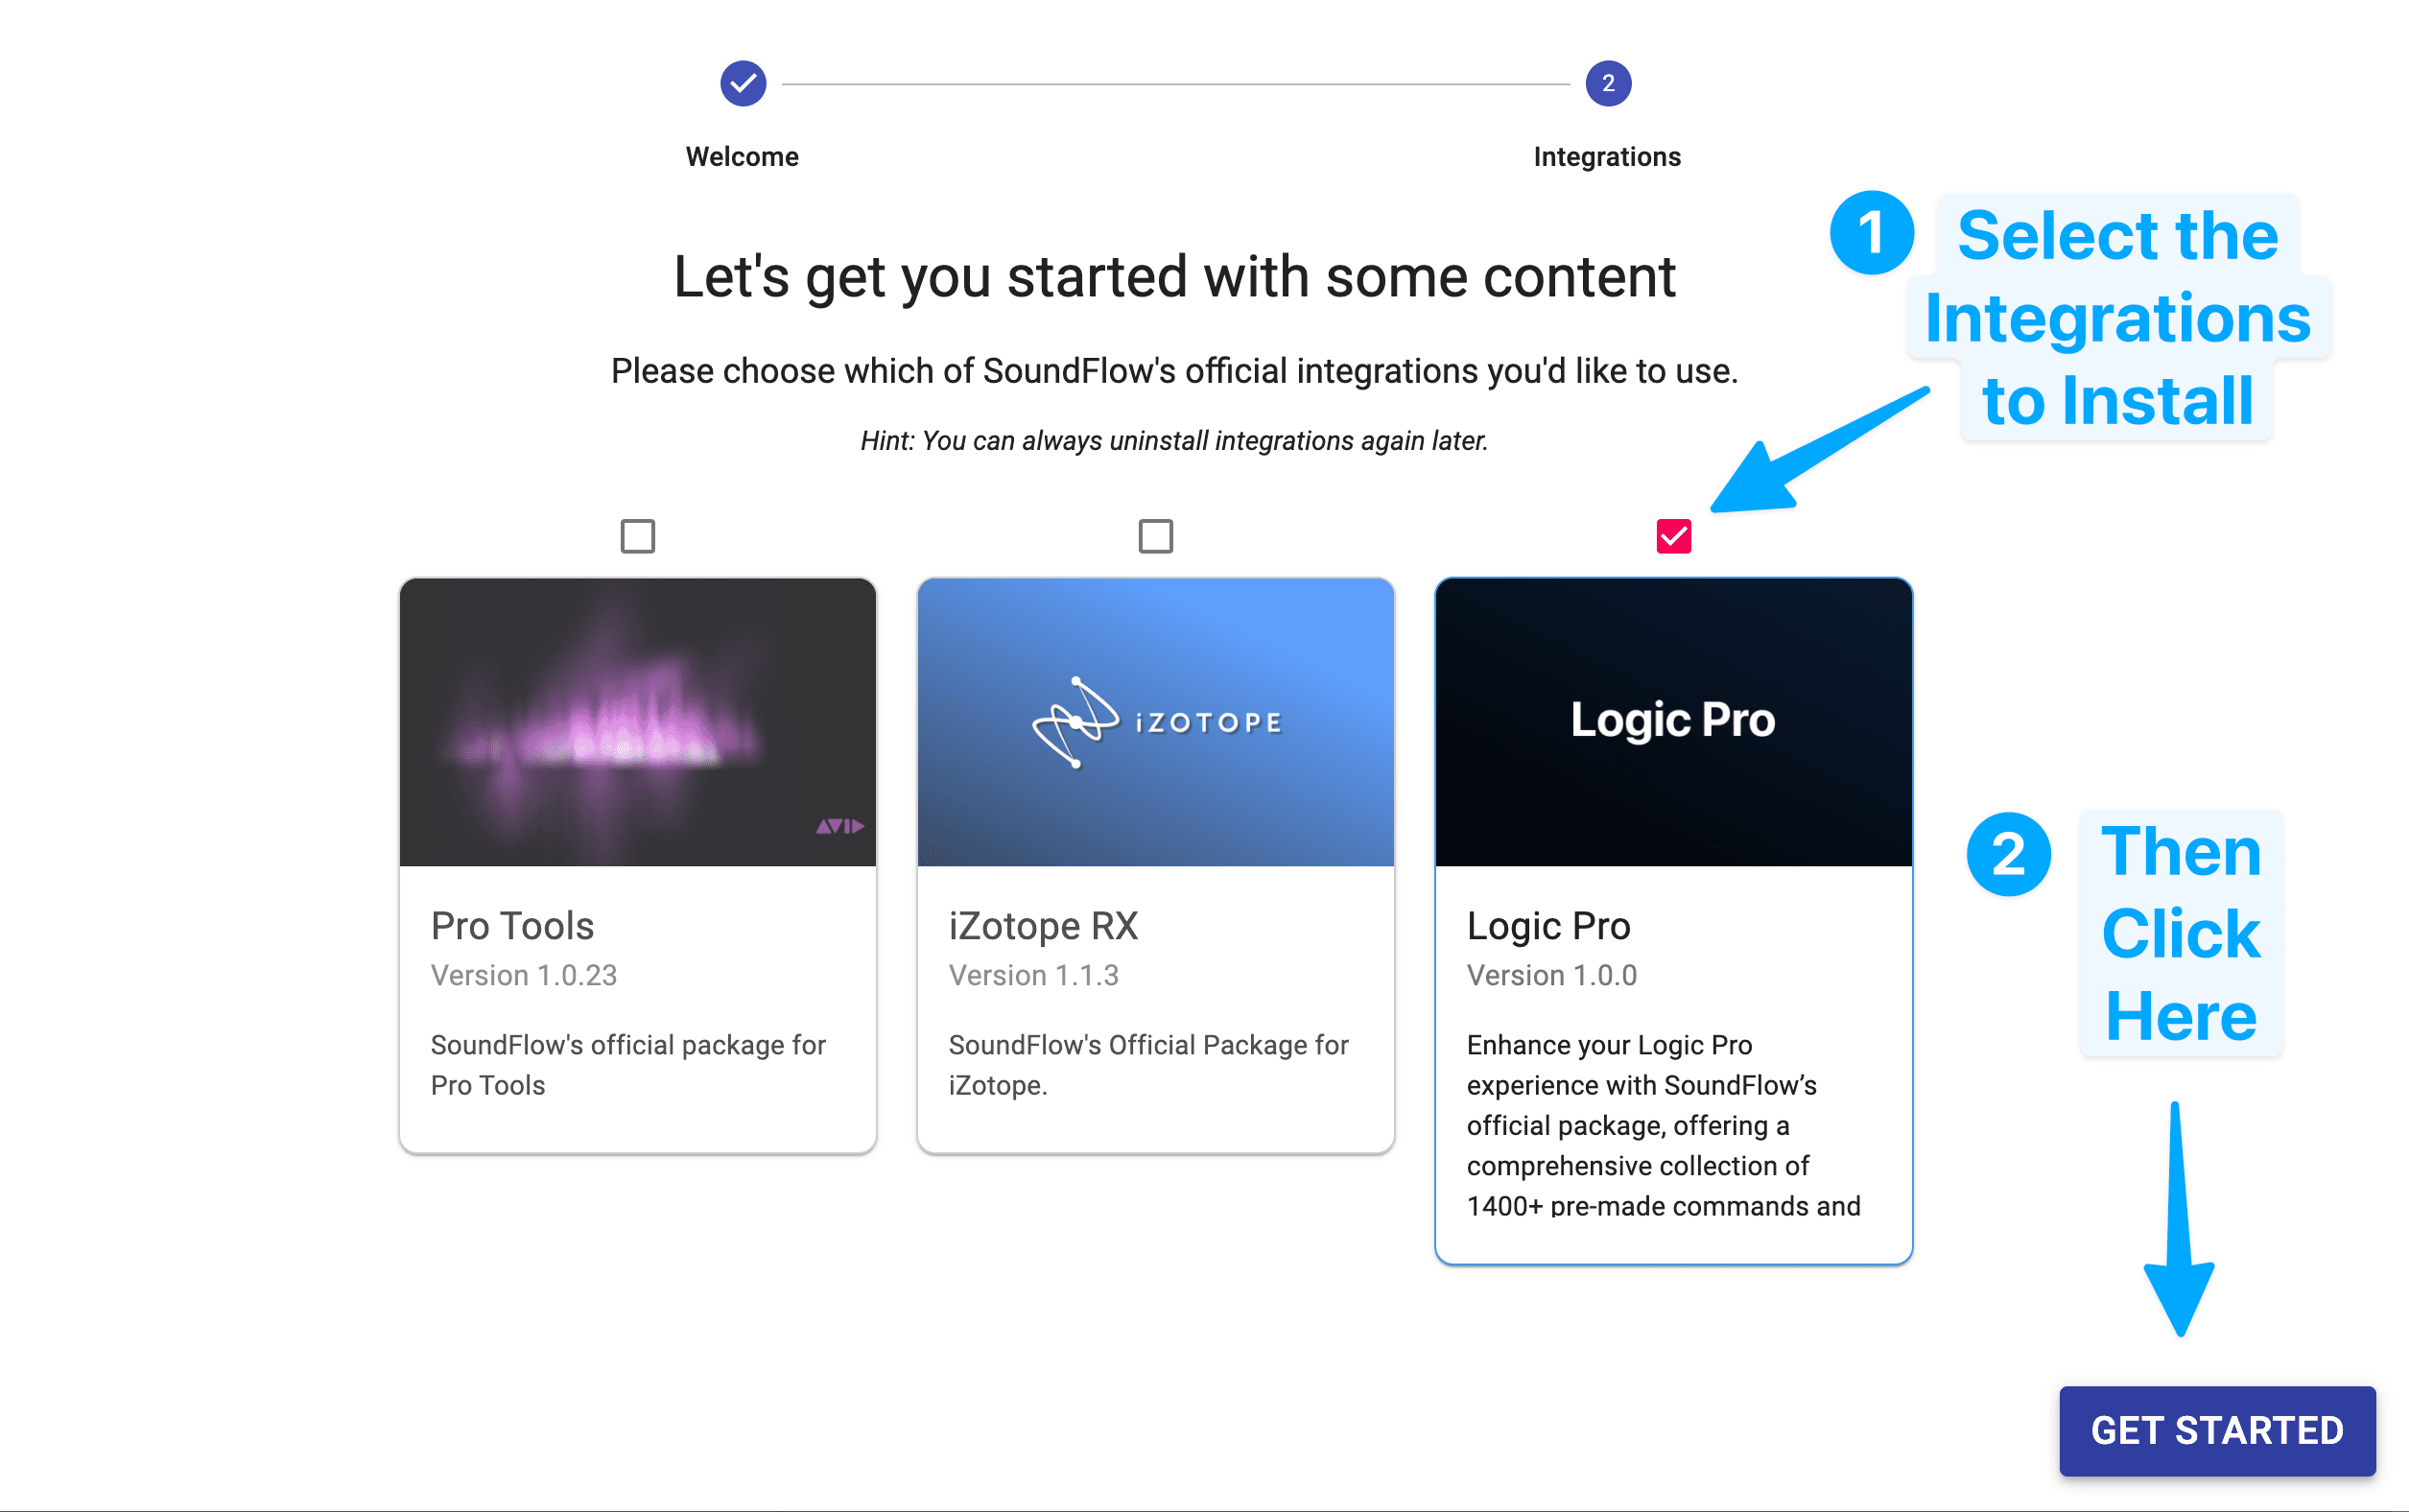
On the next page, you can choose which Official Integrations you want to install with SoundFlow. You can install one or multiple of SoundFlow's integrations for Pro Tools, iZotope RX, Logic Pro, Sibelius, or Media Composer.
Check the boxes for the integrations you wish to install. You can always uninstall an integration later.
Note: The Ableton Live integration is currently in public beta and isn’t yet listed under Quick Start Integrations. For setup instructions, see the installing the Ableton Live Integration (Public Beta) section below.
Next, click the blue "Get Started" button to continue.
You will now begin SoundFlow's Quick Start Guide. This guide will help you set up your account to control SoundFlow from a Stream Deck, iPad, iPhone, or Android device.
First, click the "Next" button to continue the setup.
On this page, you must choose which device you want to use with SoundFlow.
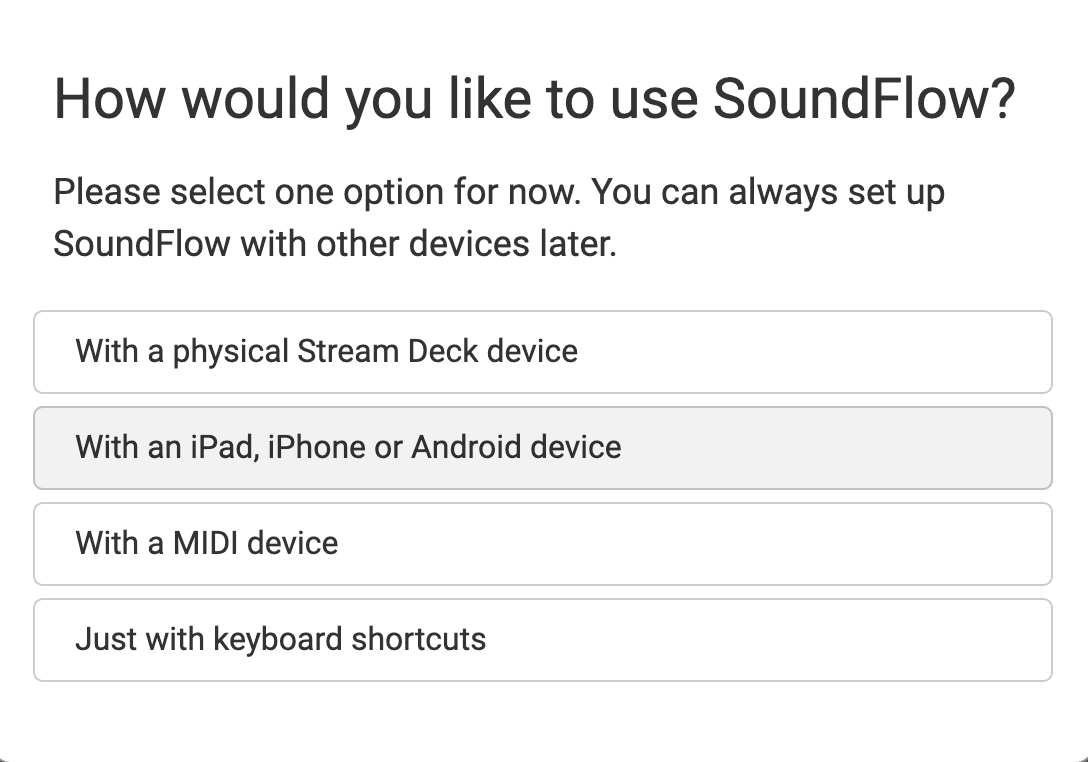
For this guide, I will set up SoundFlow with an iPhone.
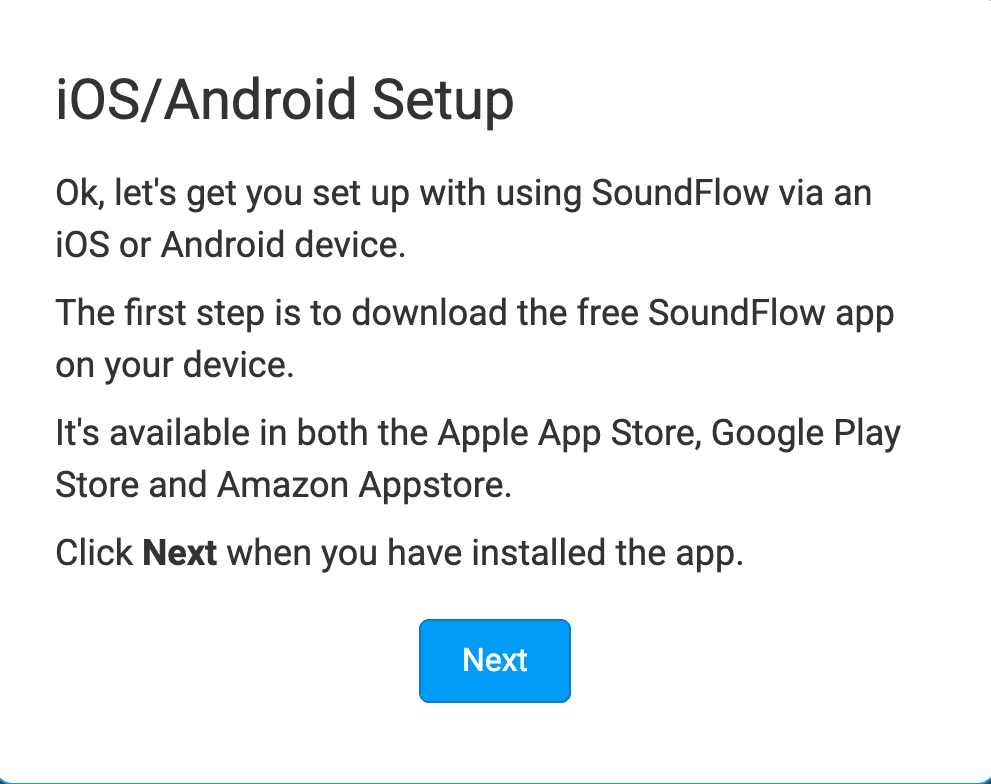
Next, ensure the free SoundFlow companion app is installed on your device. You can install the SoundFlow app for iOS and Android devices from your device's app store.

Once the companion app is installed, click the "Next" button to continue the setup.
Ensure your device is on the same WIFI network as your computer running SoundFlow so that SoundFlow can connect correctly. Once you launch the mobile app on your device, you should see your computer name on the mobile app's main page.

Once connected, you can continue with the SoundFlow Quick Start Guide.
SoundFlow has now set up the default content in your account so that you are ready to use SoundFlow with Finder, Safari, Pro Tools, and Logic Pro.
Click the "Next" button to see the content SoundFlow added to your account.
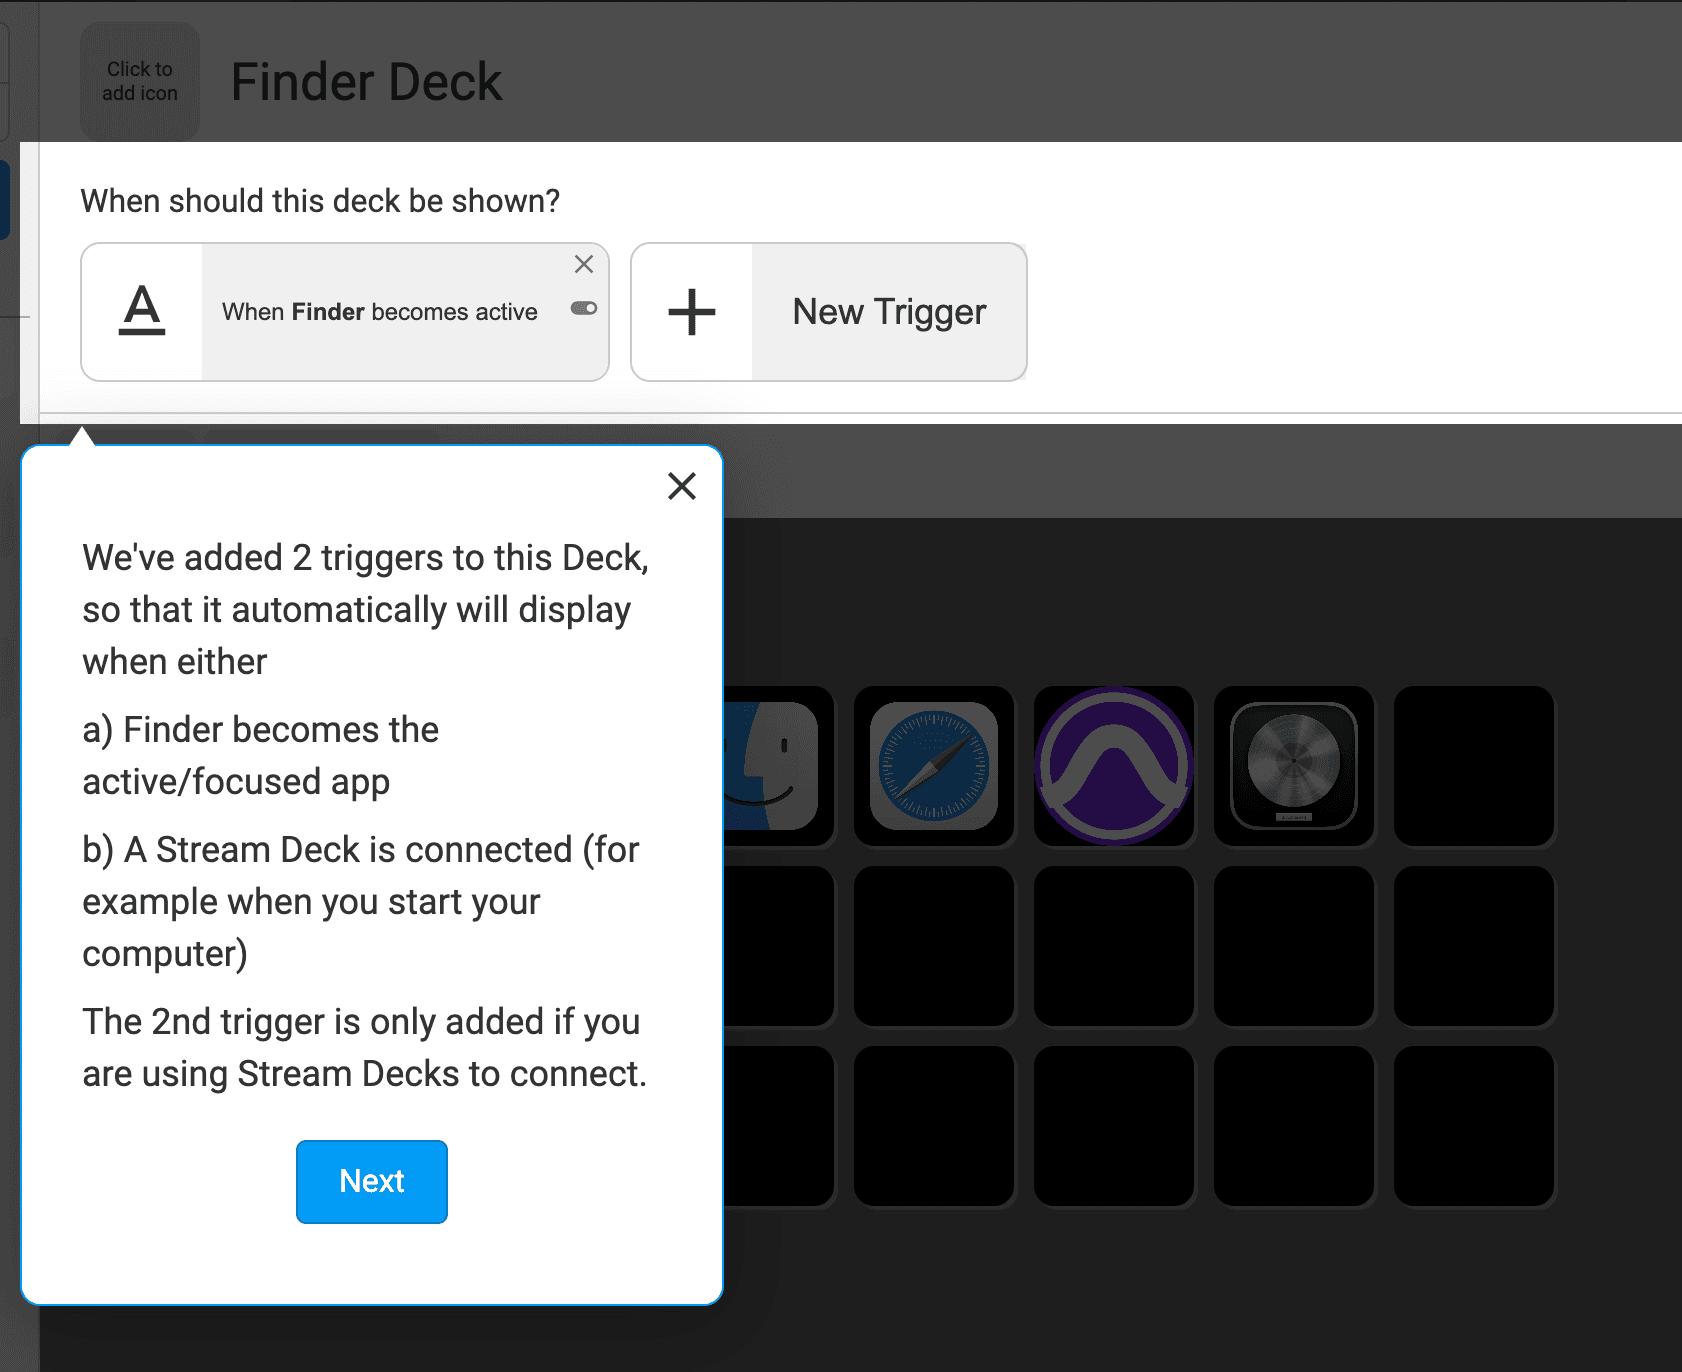
First, SoundFlow has added a Deck for Finder.
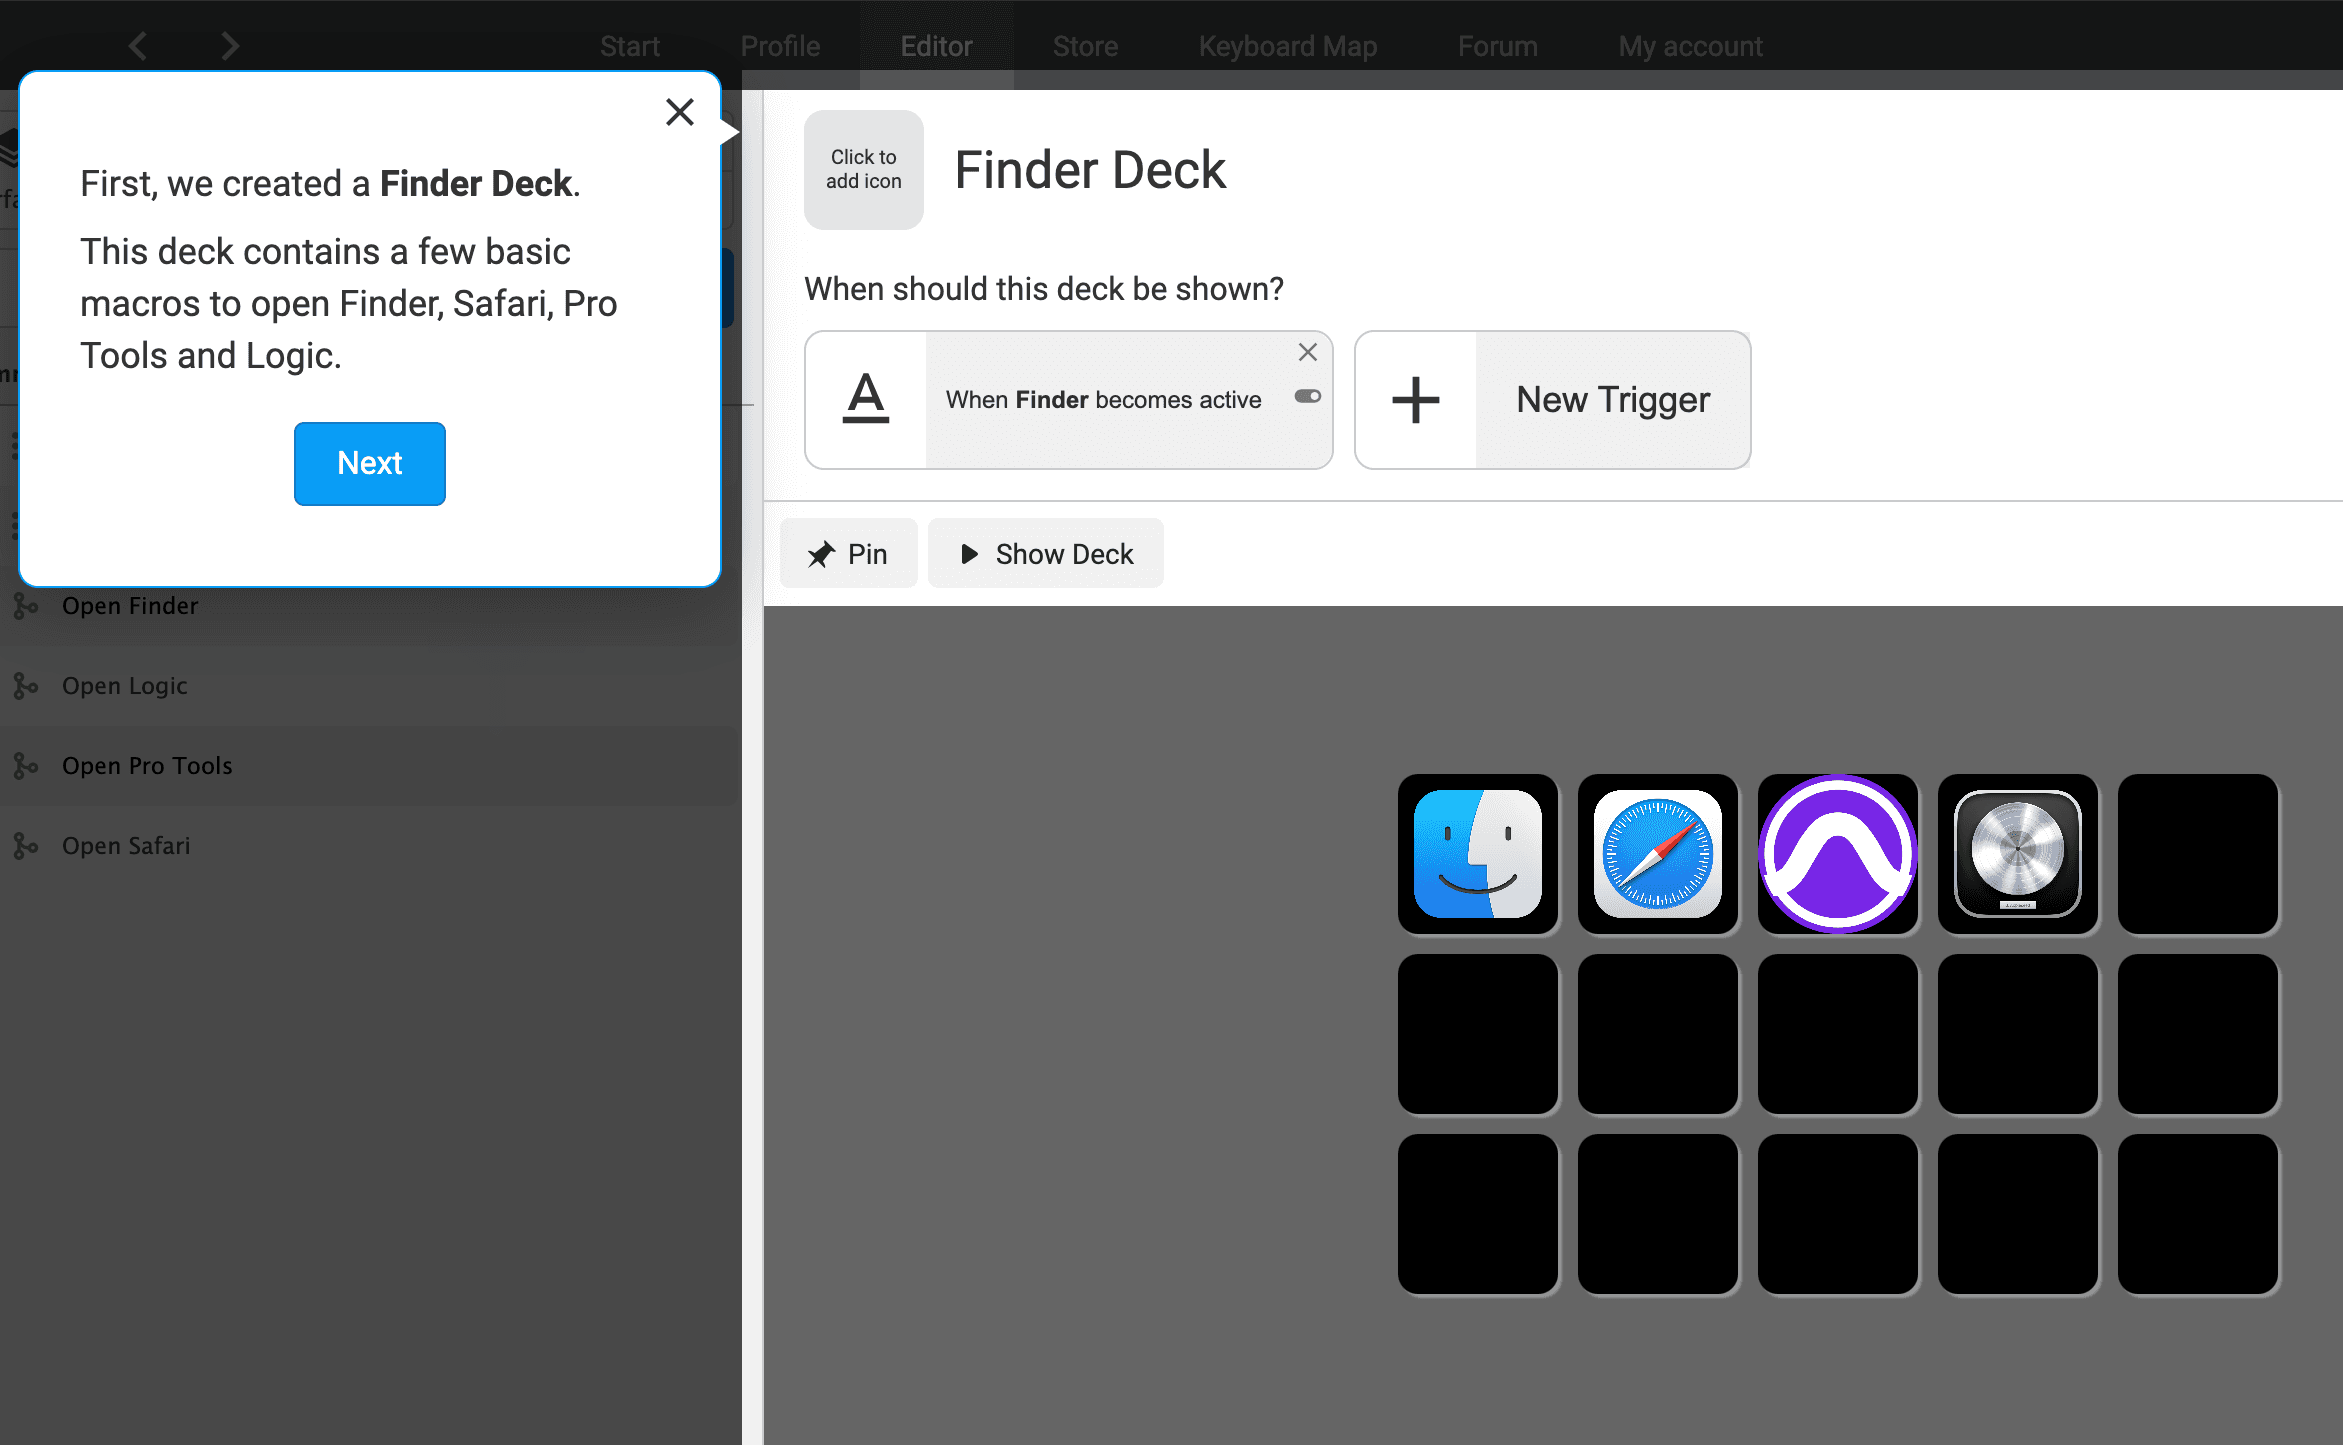
When we click the "Next" button, SoundFlow shows that it has added a trigger to the Deck. This trigger will ensure the Finder deck shows when you use the Finder app. Using this Finder Deck, you can launch and switch between Finder, Safari, Pro Tools, and Logic Pro.
Click the "Next" button. The SoundFlow Quick Start Guide is now complete!

In the bottom right corner of the SoundFlow Editor, the SoundFlow Quick Start Guide is now shown as completed in the Get Started with SoundFlow checklist. We encourage you to complete the rest of the tutorials in this checklist, beginning with the "Intro Tour." These tutorials will help you understand how SoundFlow is laid out and set you up to start making macros in SoundFlow.
Install the Ableton Live Integration (Public Beta)
To install the Ableton Live Integration public beta. Head to the Store by clicking the Store tab at the top of the SoundFlow Editor. The Ableton Live Integration can be found in the "Official SoundFlow Integrations" category.
Click Install to install the Ableton Live Integration.

Once installed, the package will now show in the packages list on the left side of the SoundFlow Editor.

Next, close and re-open Ableton Live.
Set Up the SoundFlow Control Surface
Then, in Ableton Live's Settings,
- Navigate to the Link, Tempo, & MIDI section.
- In the MIDI Control Surface section of this window, add the SoundFlow Control Surface to an empty Control Surface slot.
- Add the SoundFlow Ableton Output to the Input section of that same row.
- Add the SoundFlow Ableton Input to the Output section of that same row.


That's it.
The SoundFlow Ableton Integration should be ready to use with Ableton Live.
If the SoundFlow Control Surface is not showing up in your Control Surfaces list, check out the Troubleshooting section below.
If you need more help setting up SoundFlow with Ableton, contact support using the Help/Issue workflow.
Show the Ableton Live Deck on Your Device
To show the Ableton Live Deck on your device, you can either:
- Open the SoundFlow app on your iOS or Android device and select the Ableton - Main Deck - 5x3.

- Navigate to the Ableton - Main Deck - 5x3 in the SoundFlow Editor under Ableton Live > Decks > 5x3 Decks and show the deck on your device by clicking Show Deck

If you'd like to customize the Ableton deck, watch this video on editing default decks in SoundFlow:
Other Resources
Check out the "Learning SoundFlow" playlist on YouTube for more videos on creating macros, setting up Stream Decks, and getting the most out of SoundFlow.
Troubleshooting
On macOS Sequoia, there are a few extra permissions that need to be in place to use SoundFlow and for SoundFlow to install the SoundFlow MIDI Control Surface.
First, on macOS Sequoia, SoundFlow requires access to the "Local Network." If you are having trouble opening the SoundFlow Editor or it is blank when opened, check System Settings > Privacy & Security > Local Network and ensure SoundFlow is enabled in this list.
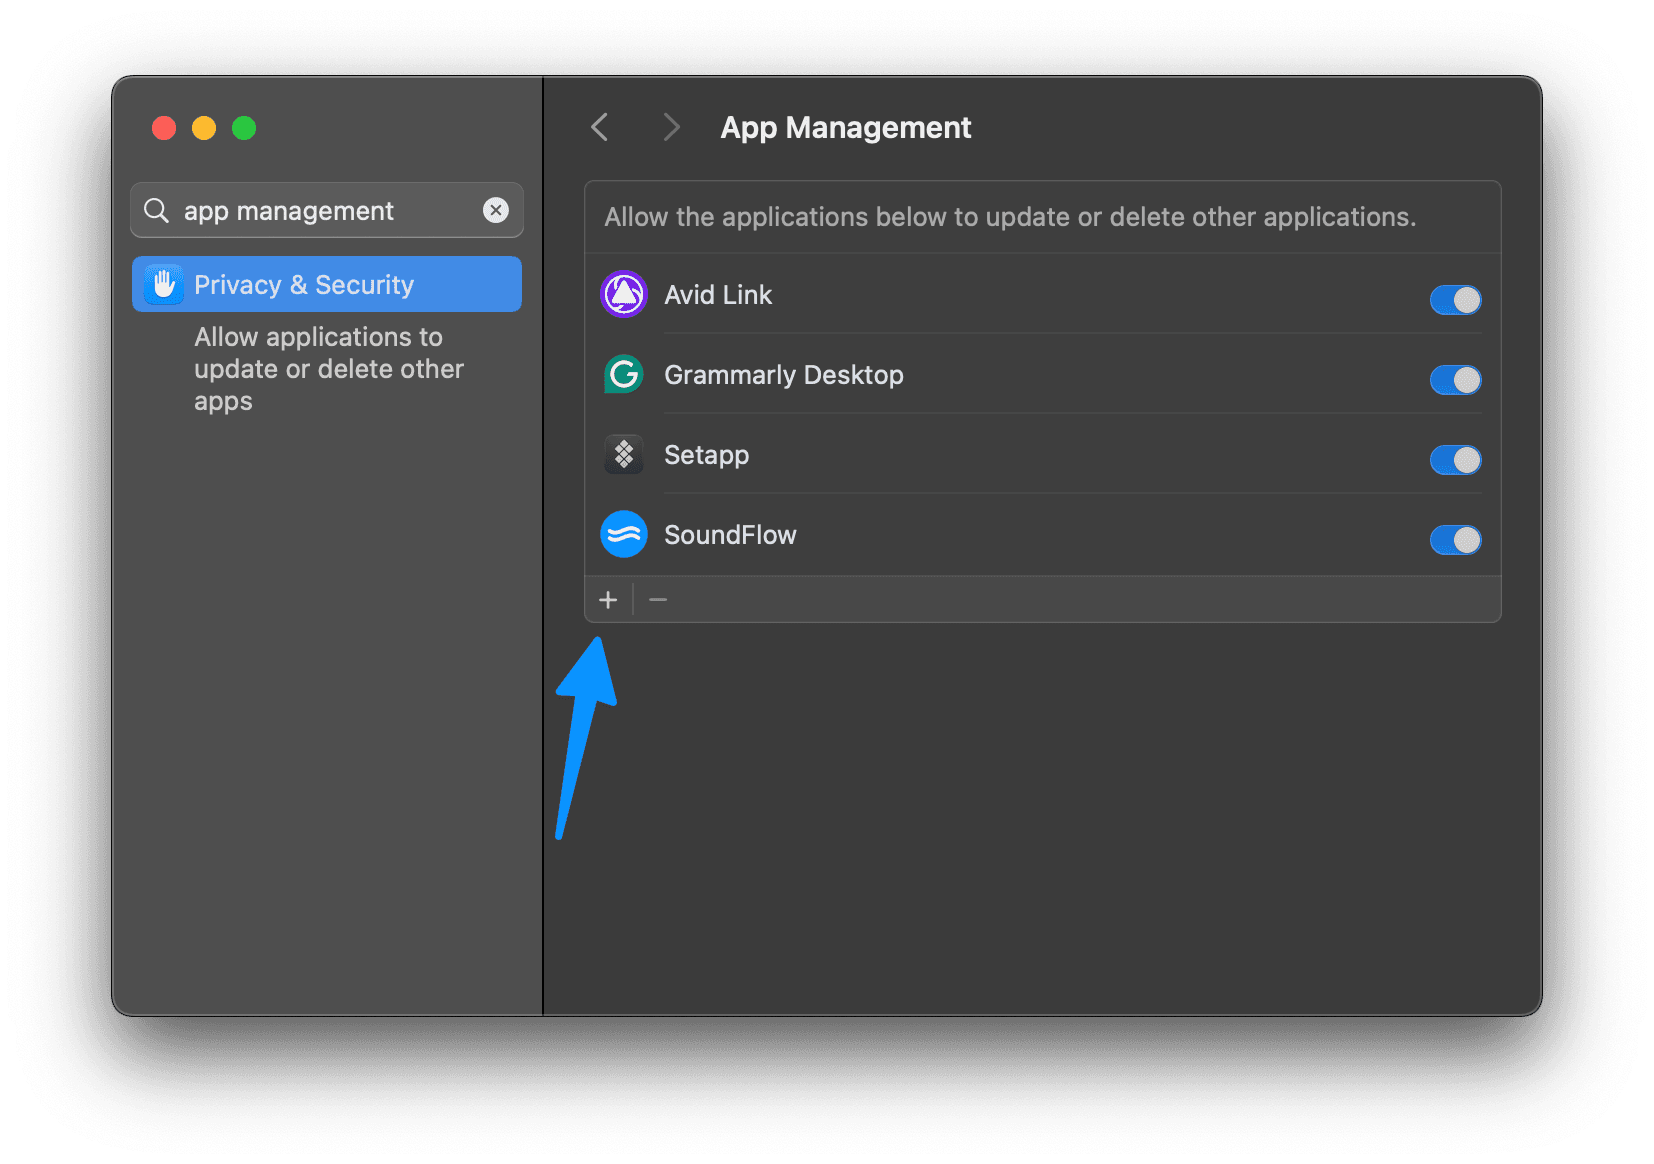
Next, in order for SoundFlow to install the SoundFlow MIDI Control Surface on macOS Sequoia, you may need to ensure that "App Management" is allowed. If the SoundFlow MIDI Control Surface is not showing up in Ableton's settings, navigate to System Settings > Privacy & Security > App Management and ensure SoundFlow is enabled in this list.
Getting Help
If you need more help, check out our "Getting Help" article.
Thanks for reading – we hope you enjoy using SoundFlow with Ableton Live!